Recently, I decided to plunge into a desire I’ve had for a while: 3D printing. Let me preface this by saying I’ve had a fair amount of hands on experience with 3D printers. My boss at iD Tech would 3D print the projects my students would make, I helped my friend repair his printer, and I also had some time *not* getting a variety of other printers to work at a makerspace. In the end, I saw the full spectrum of pain, suffering, and eventually, earned satisfaction in 3D printing. In the end, after A LOT of research, I ordered the Monoprice Maker Select v2.
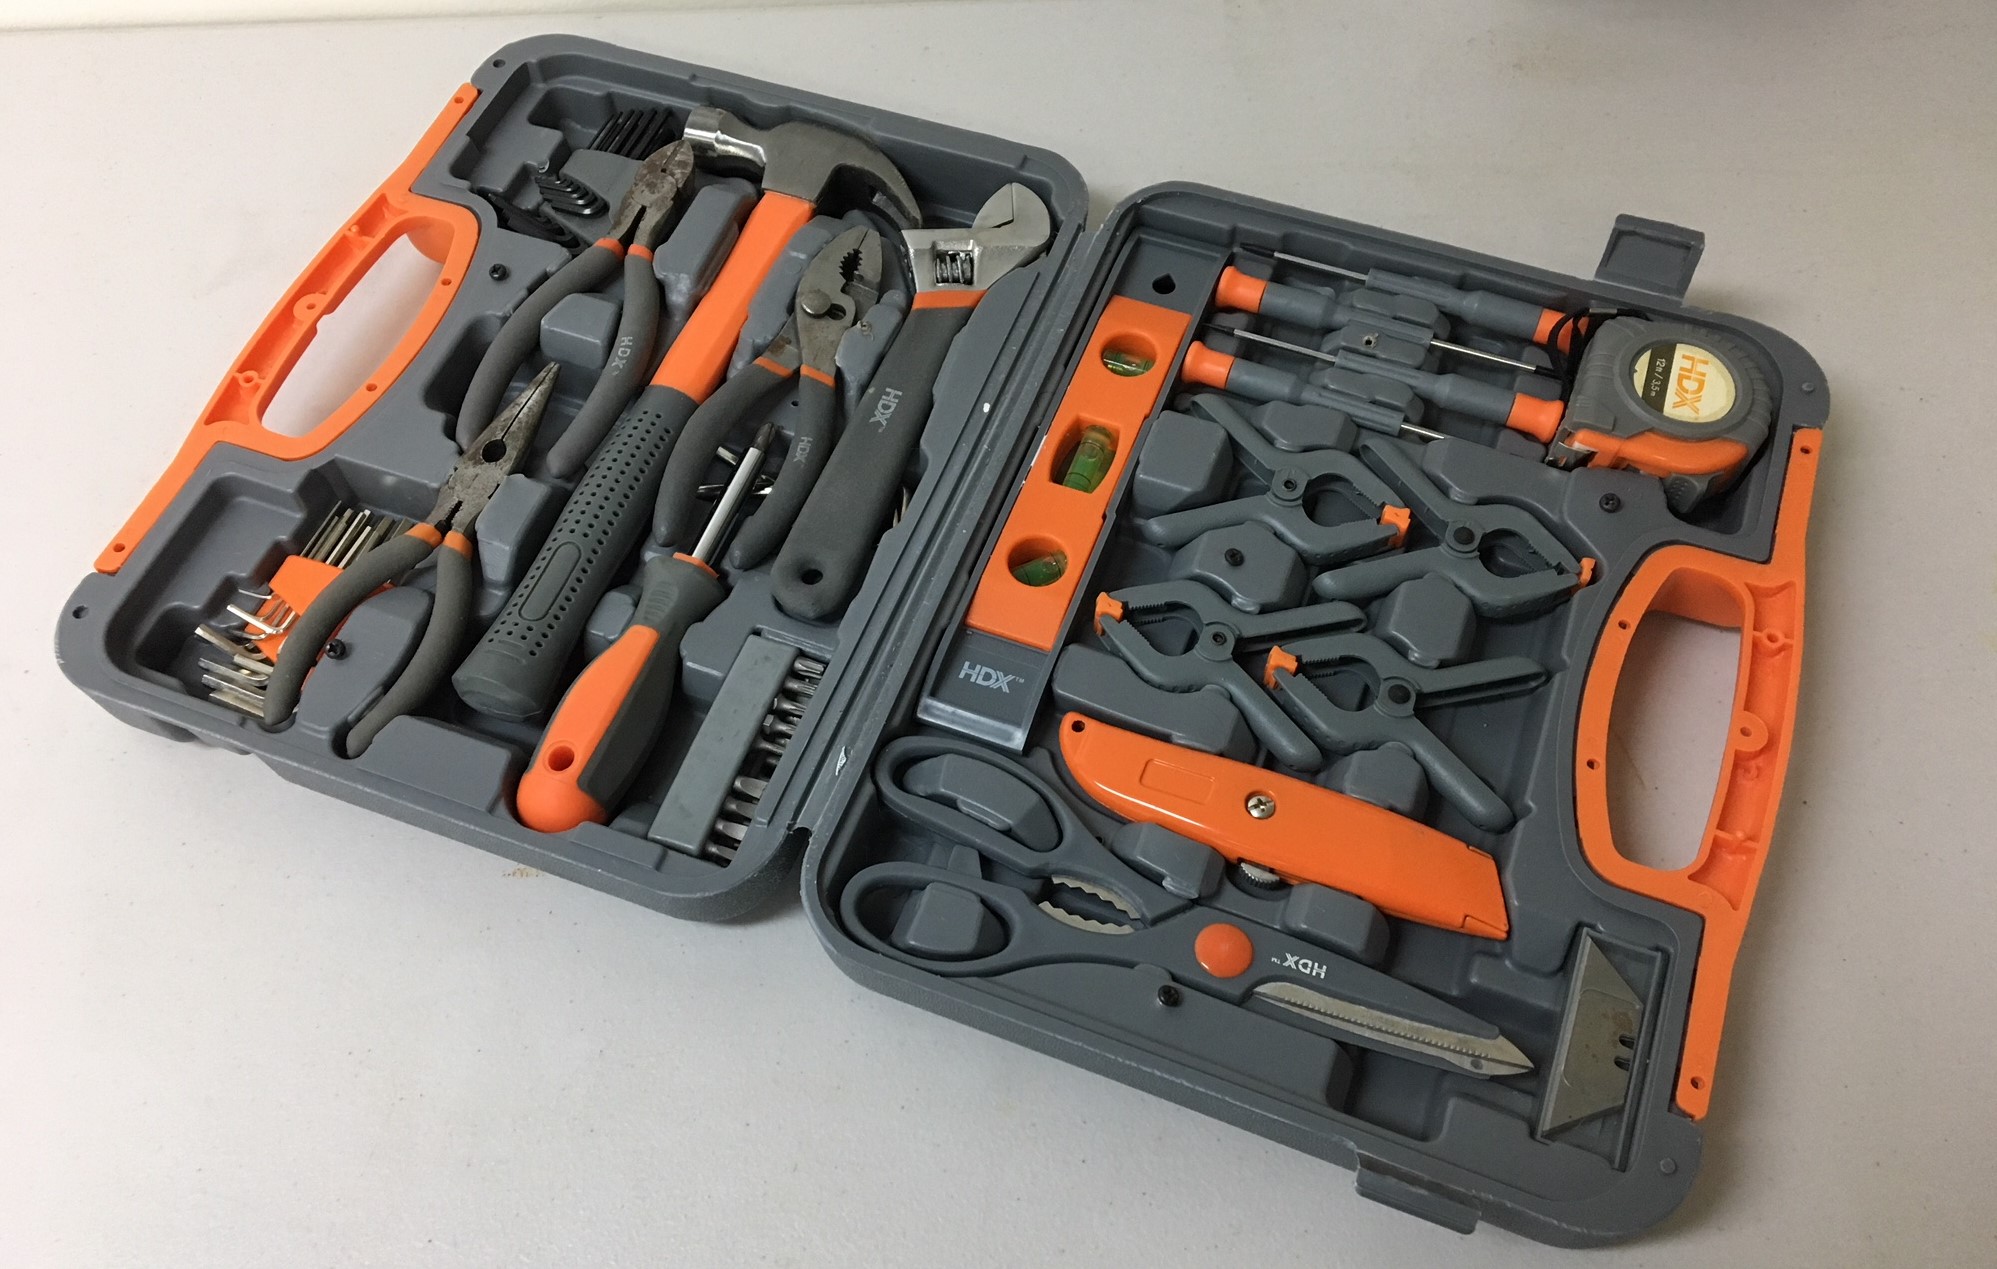
This printer hit all of my desires; minimal setup means little that I can screw up, large community for troubleshooting, and it was relatively cheap at about $300 and on Amazon (with prime shipping to boot!). Another key factor is that this Monoprice printer is a clone of the Prusa i3 v2. While this would normally mean quality dips and lawsuits, the Prusa is open source in design and software. This means you have great flexibility in upgrades in those departments and a much cheaper price tag courtesy of Monoprice. So I made the order with trepidation and made some preparation, setting aside a work space in a temperature controlled area, ordered some items online for modifying the printer, and got some tools.
After a long two days, I finally got the big box with my printer. Opening and setting everything on the table was done with relative ease, and there was a lot more included in the kit than I was expecting. A palette knife was provided, and the wing nut bed screws people complained heavily about online were replaced with thumbwheels. That was a small save in headache, however. I couldn’t prime ship a replacement Y-Plate (The metal fixture underneath the hotbed), so I had to deal with the notoriously bad one included. It took me 3 hours to figure out how to level a bed with a Y plate as warped as the one I got, where one corner, no matter how loose I got it, would not come level with the hotend of the extruder. Eventually the solution was found: just get rid of the thumbscrew! That’s… not a good solution. Eventually, I was able to get a plastic washer that could be placed under the spring for easier leveling, but I will still be replacing the plate so I don’t need to rely on this system.
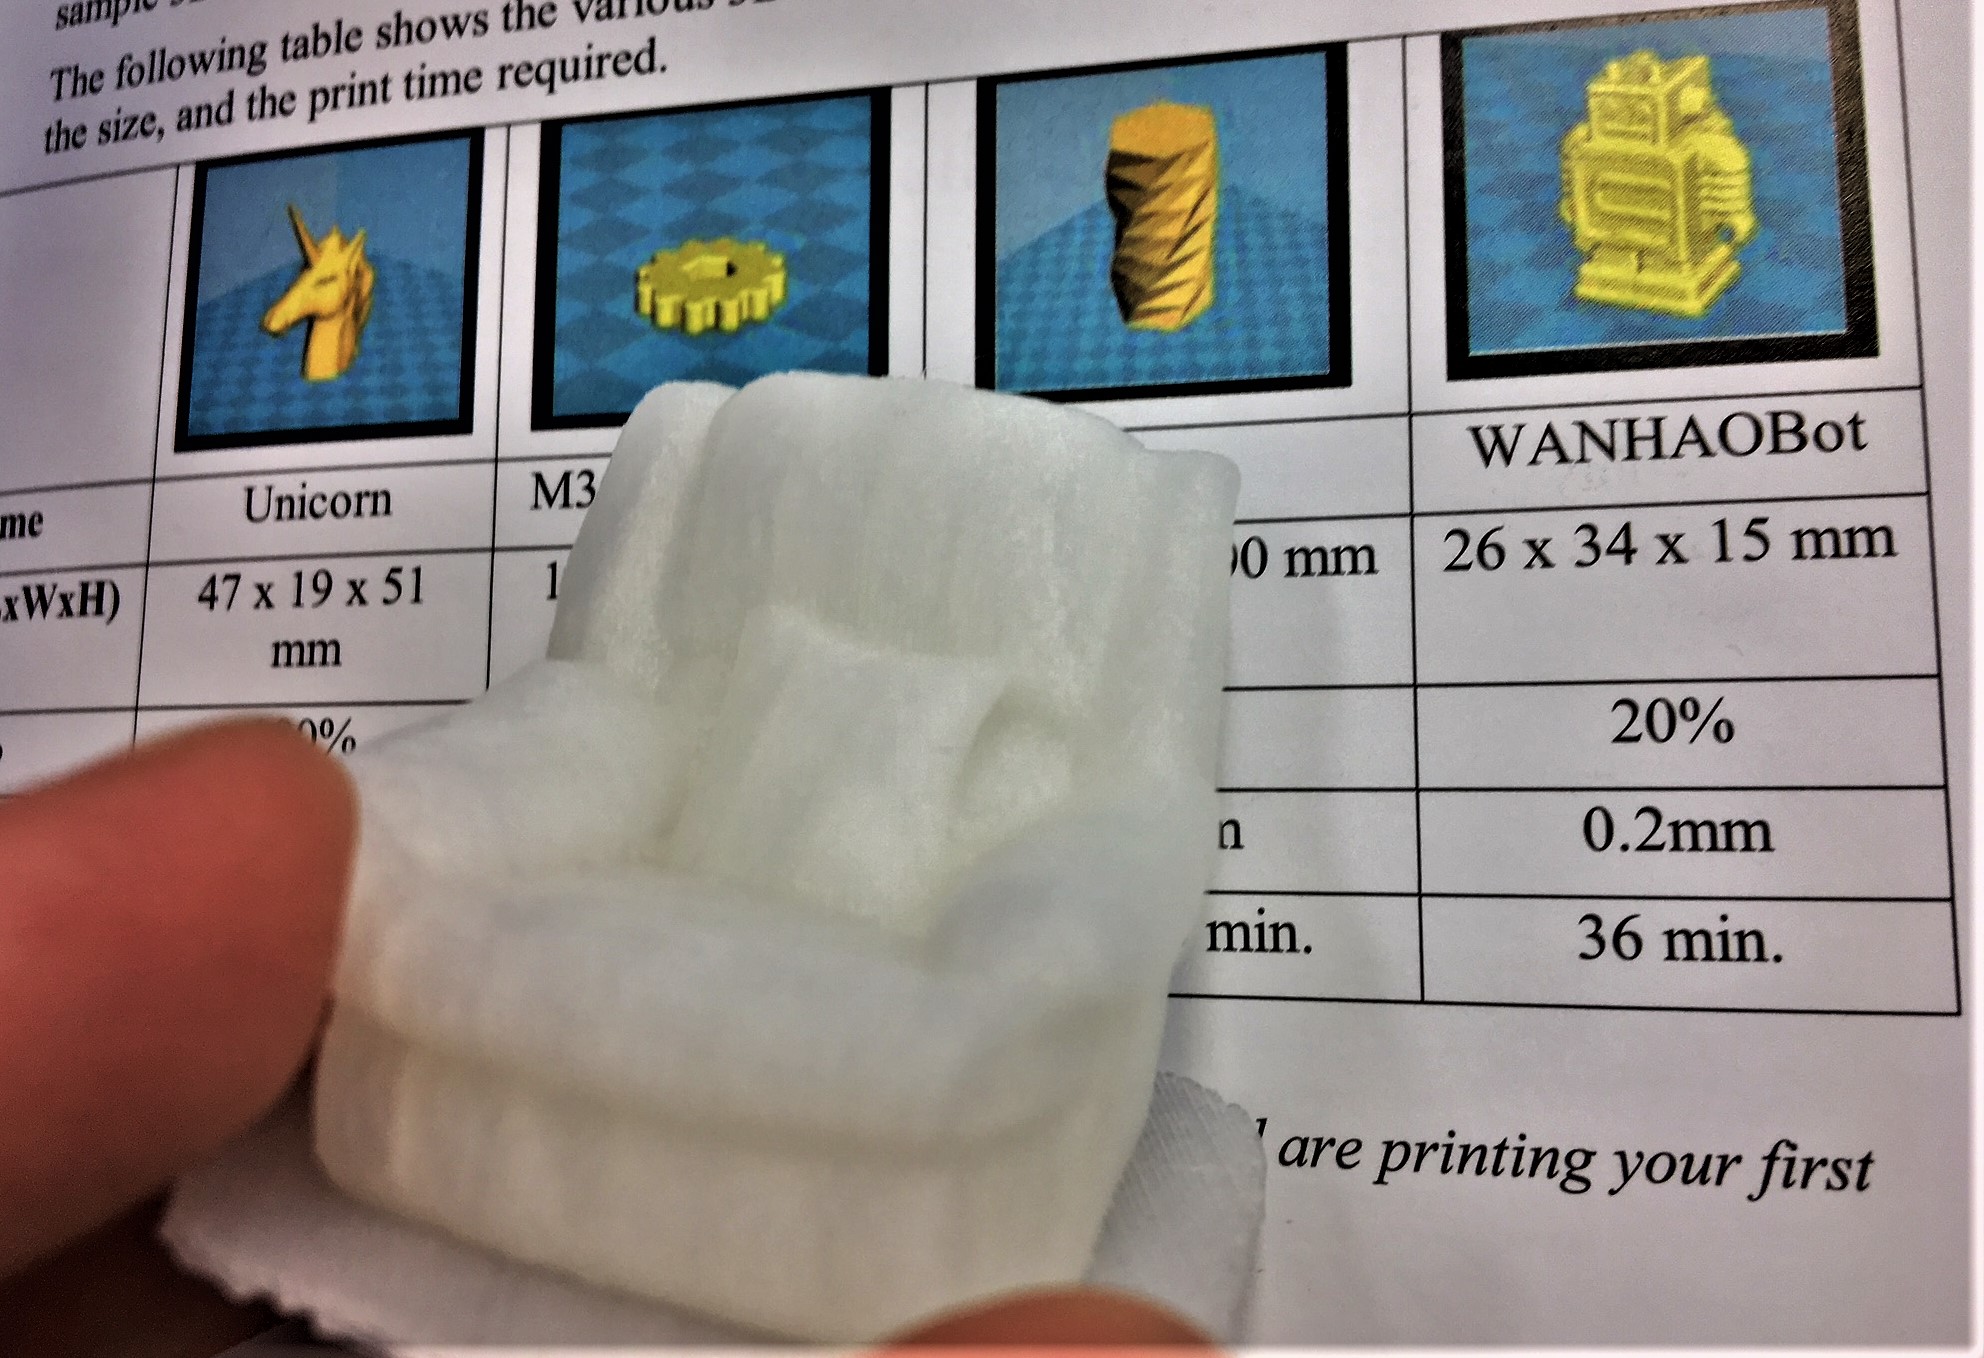
On that note, Monoprice included a micro SD card with four test prints in it. Included below is a picture of the four test print ready models provided, as shown in the manual, and the actual first test print I ran. Please tell me if you notice the problem:
This is not the only moment where the manual was not up to date. It didn’t even match some of the information on the quick start sheet that was also provided, but I guess this is just a sacrifice you make when you buy a lower end 3D printer. To be honest, getting the printer ready wasn’t a painful process, and the test print was easily done. Now comes the real pain and suffering: modifications, missing knowledge, and my own stupidity.
Adding a MOSFET board
I won’t pretend to know much about electrical engineering, but my limited knowledge has allowed me to replace outlets without burning, destroying, or killing myself or others so I have consider that good enough to do this addition. Basically, these printers pull more power than the motherboard is rated, meaning burned connections or even electrical fire. This is true of all models of this type with the Melzi board (Maker Select, Wanhao Duplicator i3, Prusa i3). Thus, it is recommended to install another board to off-load the power draw of the hotbed. Why the hotbed? Because it pulls about the same amount of power as all the other electronics combined. I will admit, most of my understanding is shamelessly explained by the author of this helpful article, so check it out for more info. Ordering the parts needed was simple enough, and was in the same Amazon order as my printer. However, I decided to 3D print the mount for the board myself, which was… hard.
My first mistake in printing the board was switching materials to ABS. Since the internals of the machine were to be getting hot, I wanted to use a material that could withstand higher temperatures than PLA. Here is a good resource on what ABS and PLA are good for, but to cut to the chase, ABS is better for electronic housings. Using the settings preset for the object I got on thingiverse as a mount (click here for the download), I had mostly relied on the default settings from Cura for ABS for my print (BIG MISTAKE #1, I will get back to this). Second, I trusted the default settings in Cura for my print bed size regarding my rather large print, thinking it was okay (BIG MISTAKE #2). You see, the Maker Select v2 advertises a bed size of 200 mm x 200 mm x 180 mm, but the bed is a bit tighter than that on the y-axis (side to side horizontal) due to calibration, and while I haven’t run into this yet, the top is reported to restrict the printing z-axis (vertical) to 143 mm. Mods can fix these, but without knowing I watched in horror as my extruder ran straight into the metal side support on its first run. So I restricted the y-axis build volume by 10 mm and tried to print again, only to discover huge build adhesion issues (the return of BIG MISTAKE #1).
I saw online that many ABS printers use an enclosure to trap heats for prints, and I thought that was my issue and tried again while using a heater and some makeshift walls to introduce/trap heat, with little effect. Then I found the true issue: my bed temperature. The recommended temperature for a hot bed is between 80 to 100 degrees Celsius (176 to 212 Fahrenheit). Cura preset the temperature to 80° Celsius, the minimum to be used in my cold basement work area. Whoops. I bumped up the bed temperature to 86° Celsius and got an okay print, but would definitely do it again at 100° C or more for bed temperature if I wasn’t satisfied that this print would never be seen again after installation.
If you are following along this post in order to do this installation yourself, please don’t. I have linked a tutorial article and video below, but in case that hasn’t hammered in the process, do the following after printing the MOSFET mount: turn off the printer AND unplug the machine. This is the easiest way to work with electronics, when there is no threat of electrical shock. This is a hobby that should be very safe, don't increase your risk of injury needlessly. Back to my story, at this point I took off the case to install the MOSFET and hit BIG MISTAKE #3.
The printer uses a usb connection (which is inconsistent and has already stopped working with my computer) and a microSD slot for print data. I took out the usb, but didn’t see the small black card sticking out of the black case and cut it in half in the process of taking the case off. The slot was undamaged, but now I had no SD card and needed to buy another one off Amazon. In the end, probably for the best since the provided card was a cheap 2GB card vs the 32GB I got for $12.
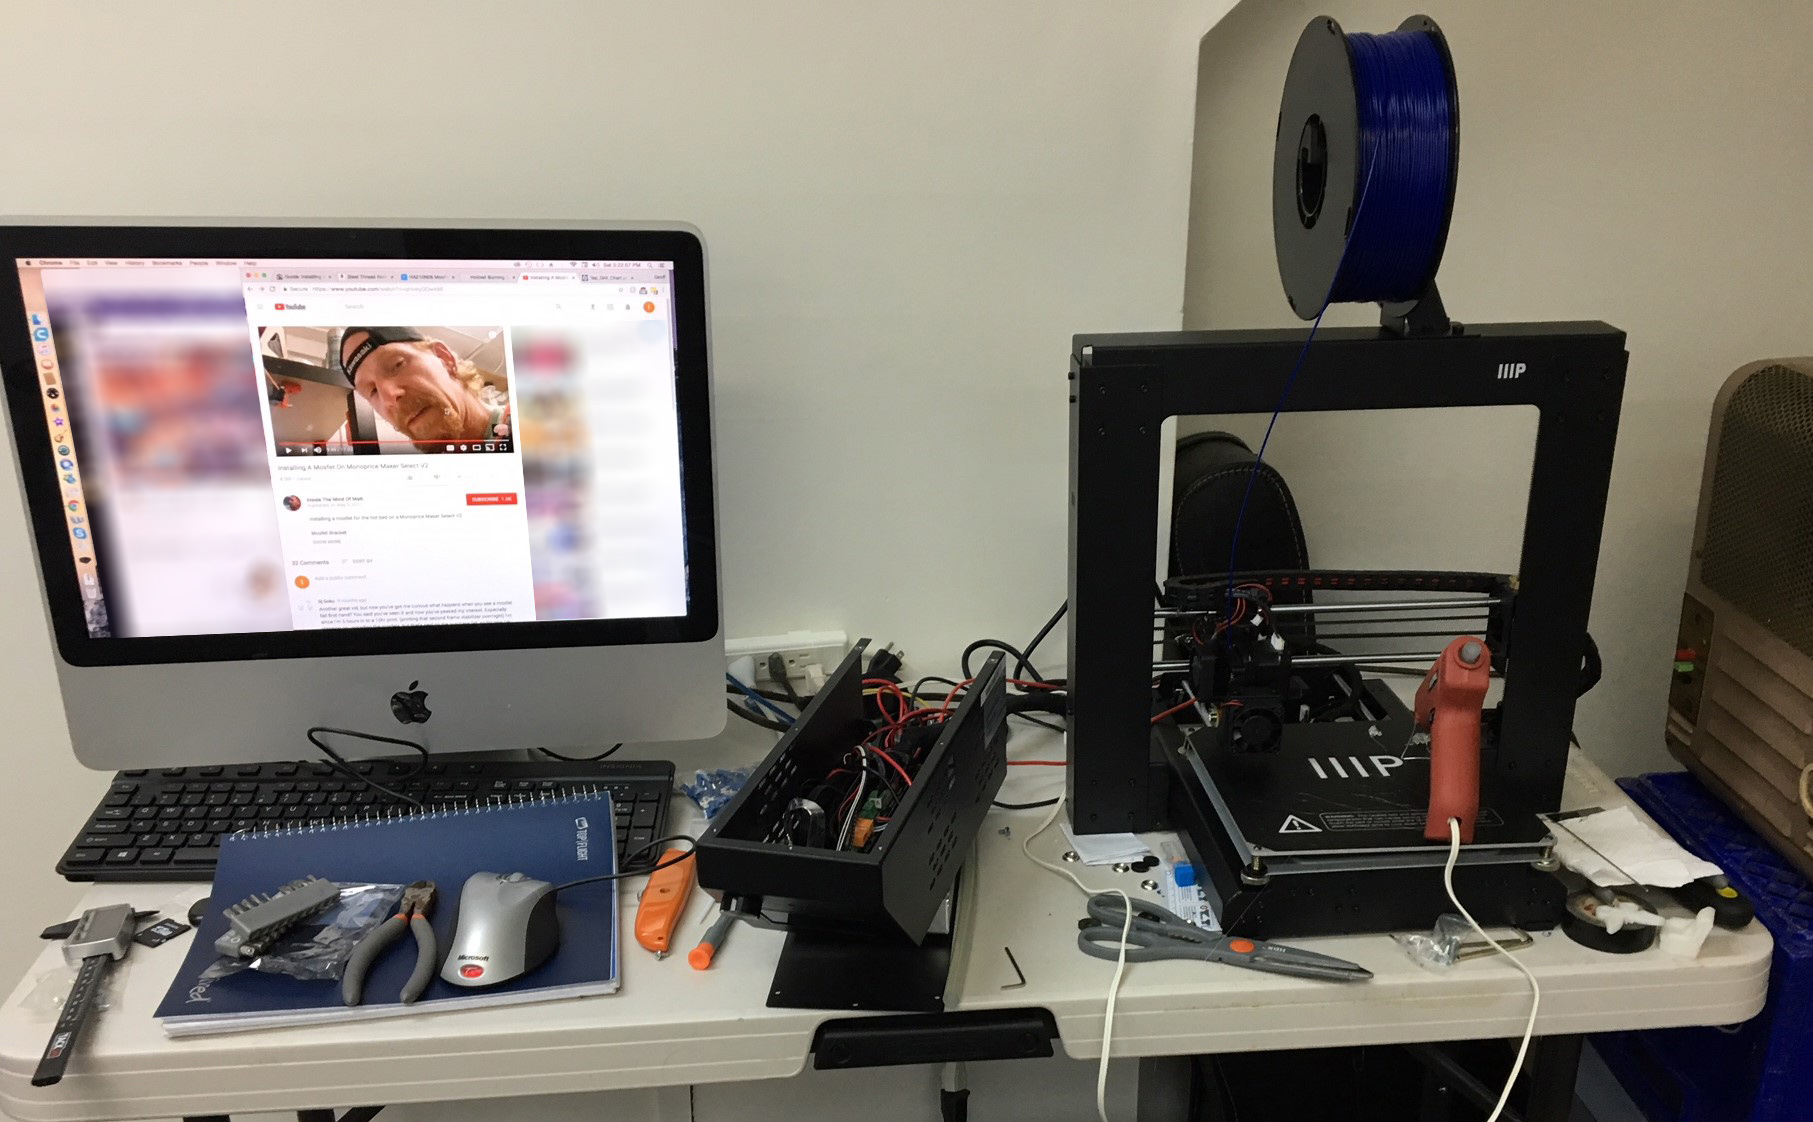
Installing the board in the case was simple, and I used a fair amount of hot glue to secure the MOSFET to the printed board even after screws. It did strike me as funny to use an extruded thermoplastic from the hot glue gun to be upgrading a machine made to be extruding thermoplastics, but I’m sure I’m not the only person who has made that connection. After installing, I used a zip-tie to manage loose wires and closed the case up.
While I couldn’t print (grrr… SD card and my stupidity). I did boot it up to test and noticed a few things. First, it appeared to have a slower start up time for the printer than before, which I can’t say for certain is true. I couldn’t find anyone else online who also had this same case, so I’ll say that this could be my imagination. What can be truly said is the increased speed in getting the hot bed to temperature, which means faster startup for prints. Even without this improvement, I feel better about this modification for adding more safety and reliability to my printer, and I even got to learn some valuable lessons in printing ABS, using Cura, my printer dimensions, and how to not be an idiot. Thanks for reading.
Links referenced:
MOSFET Parts List – Parts list for the MOSFET mod I used and the site that gave me the idea to do this mod, not a fan of this guide however.
MOSFET Install Guide – A good guide for setting up the MOSFET board.
MOSFET Install Video – A video of a successful install with good close ups that follows the above guide as well, great reference I used.
PLA vs. ABS – Comparison of PLA and ABS as filaments.
MOSFET Mount – Thingiverse file of mount I used.