Last post was when I hit a wall. I was not only without an SD card, but I wasn’t getting good prints with ABS, one of the two most popular printing filaments that is effectively guaranteed to work with my printer. So, I was doing a lot of stuff wrong and needed to know why.
My first step was trying to make prints happen even without a microSD card using the usb connection. This is where the bad news starts. With a little research, both online and in person, it seems as though the usb connection is generally unreliable. I could get Cura to start printing 50% of the time, but could never get more than 20% into a print without the connection failing, and thus the print. I even tried using an alternative splicer, Repetier, and could not even connect to my printer. This result is hugely disappointing for me. I repurposed my old, unused, 2007 iMac as an exclusive printing machine, not as an sd card loader. I will continue investigating this problem however, so I can do cool stuff link a raspberry pi octoprint setup (example in the links below).
While I was trouble shooting the usb issue, I decided to run some tests with ABS. Realizing my previous mistake, I did more research and made some significant changes. Learning more about Cura, I set the default ABS print settings to a 240° C extruder and a 105° C hotbed. Definitely higher than the settings I found recommended last post, but I was finding consistent evidence that this was important for adhesion and print quality for such a tempermental filament. I also turned one of the boxes the printer came with into a shoddy enclosure to maintain a more consistent temperature. This is temporarily my solution until I go to a hardware store and buy materials for a more efficient (and safe) casing.
At this point it had been two days since my microSD mishap and I had a new 32 GB card to try. So, this is when the experimenting starts. Using these new settings, and enclosure, I started a print of two lego print of two lego bricks and… They came out wonderfully!
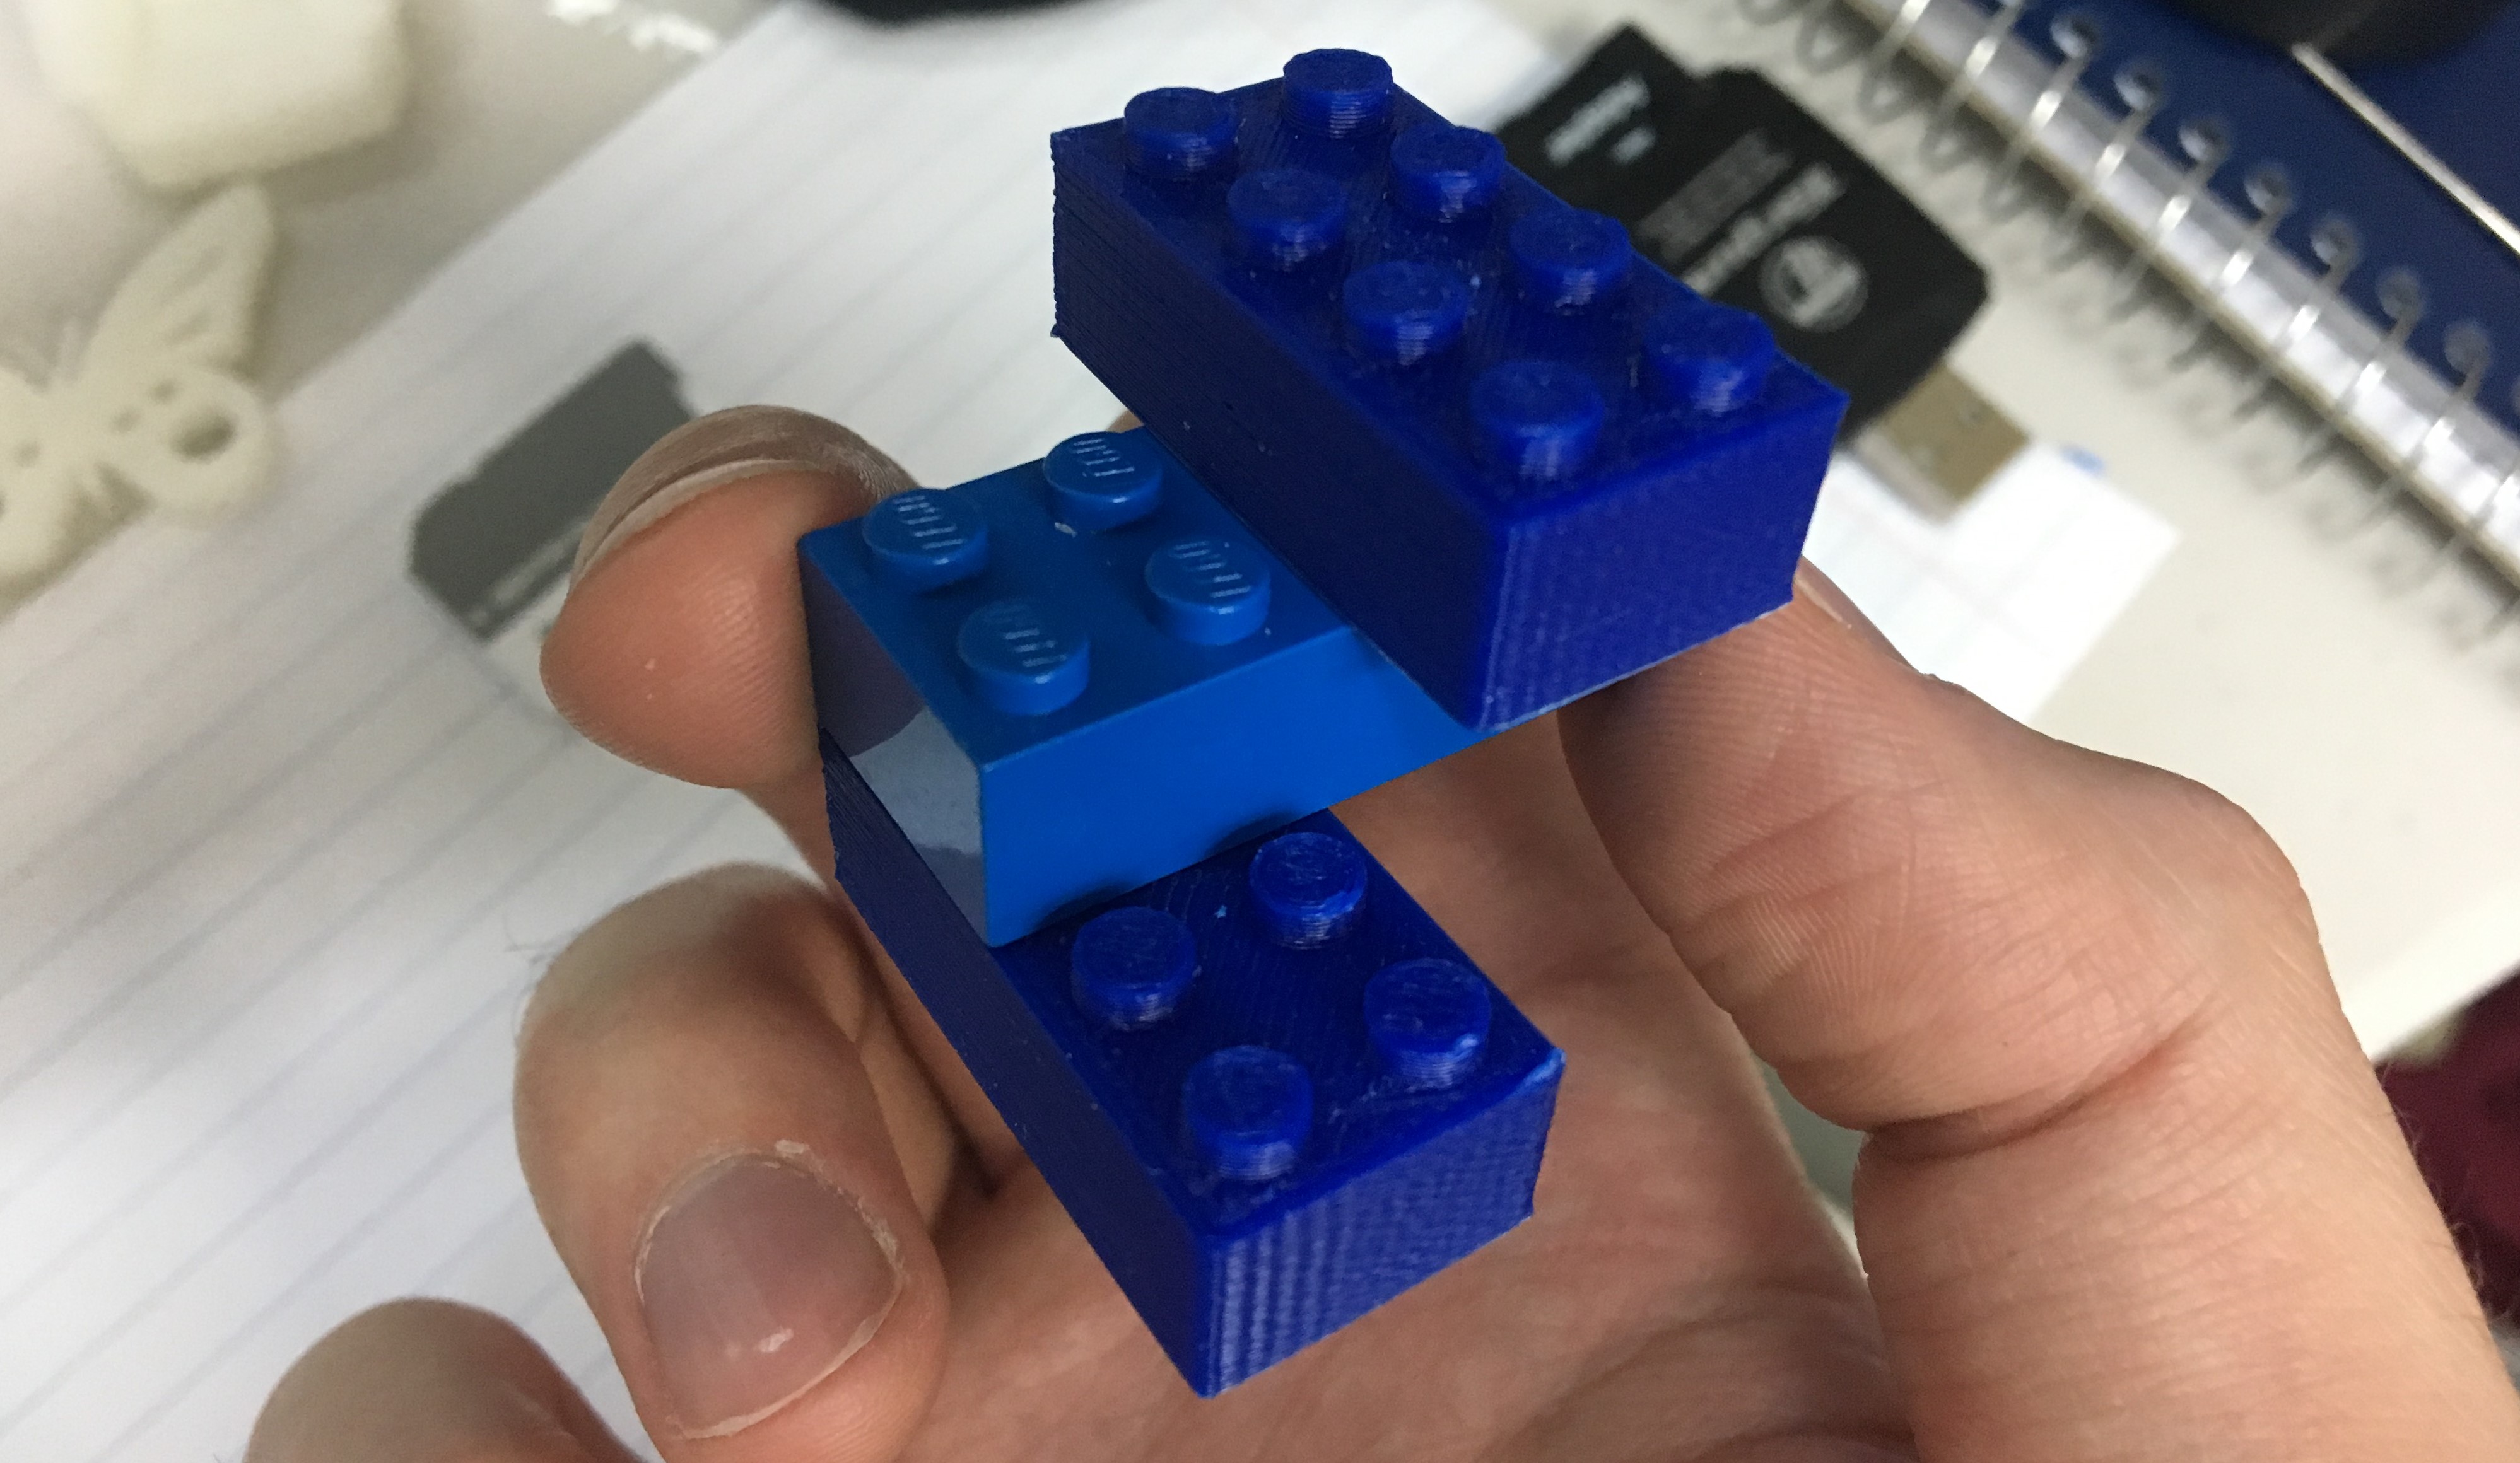
As my first “good” print with ABS, I wanted to print the iconic toy using the same material as the original and make comparisons. First by look, the lego is injection molded while the clearly 3D printed pieces are more akin to knock off bricks, especially since I used a lower resolution layer height of .2 mm for the printing. However, each felt to connect well in any configuration. Looking at tolerances, online research led to many differing discussions on the maximum, and without Lego giving a solid answer, I settled on the knowledge that certain designs could have a +/- .08 to .1 mm tolerance.
But I didn’t take this at face value, I grabbed three random 2x4 bricks randomly from a bin and checked with my digital forceps. The length of each were 31.88 mm, 31.69 mm, and 31.78 mm. Surprisingly, these random pieces were a good example of that range of +/- .1 from the expected 31.8 mm given by this site. Now, comparing that to the 31.57 and 31.59 mm lengths from the printed bricks we can see two things. First, the two bricks are closer in tolerance than any of the two real bricks selected. Second, the size is significantly less in length.
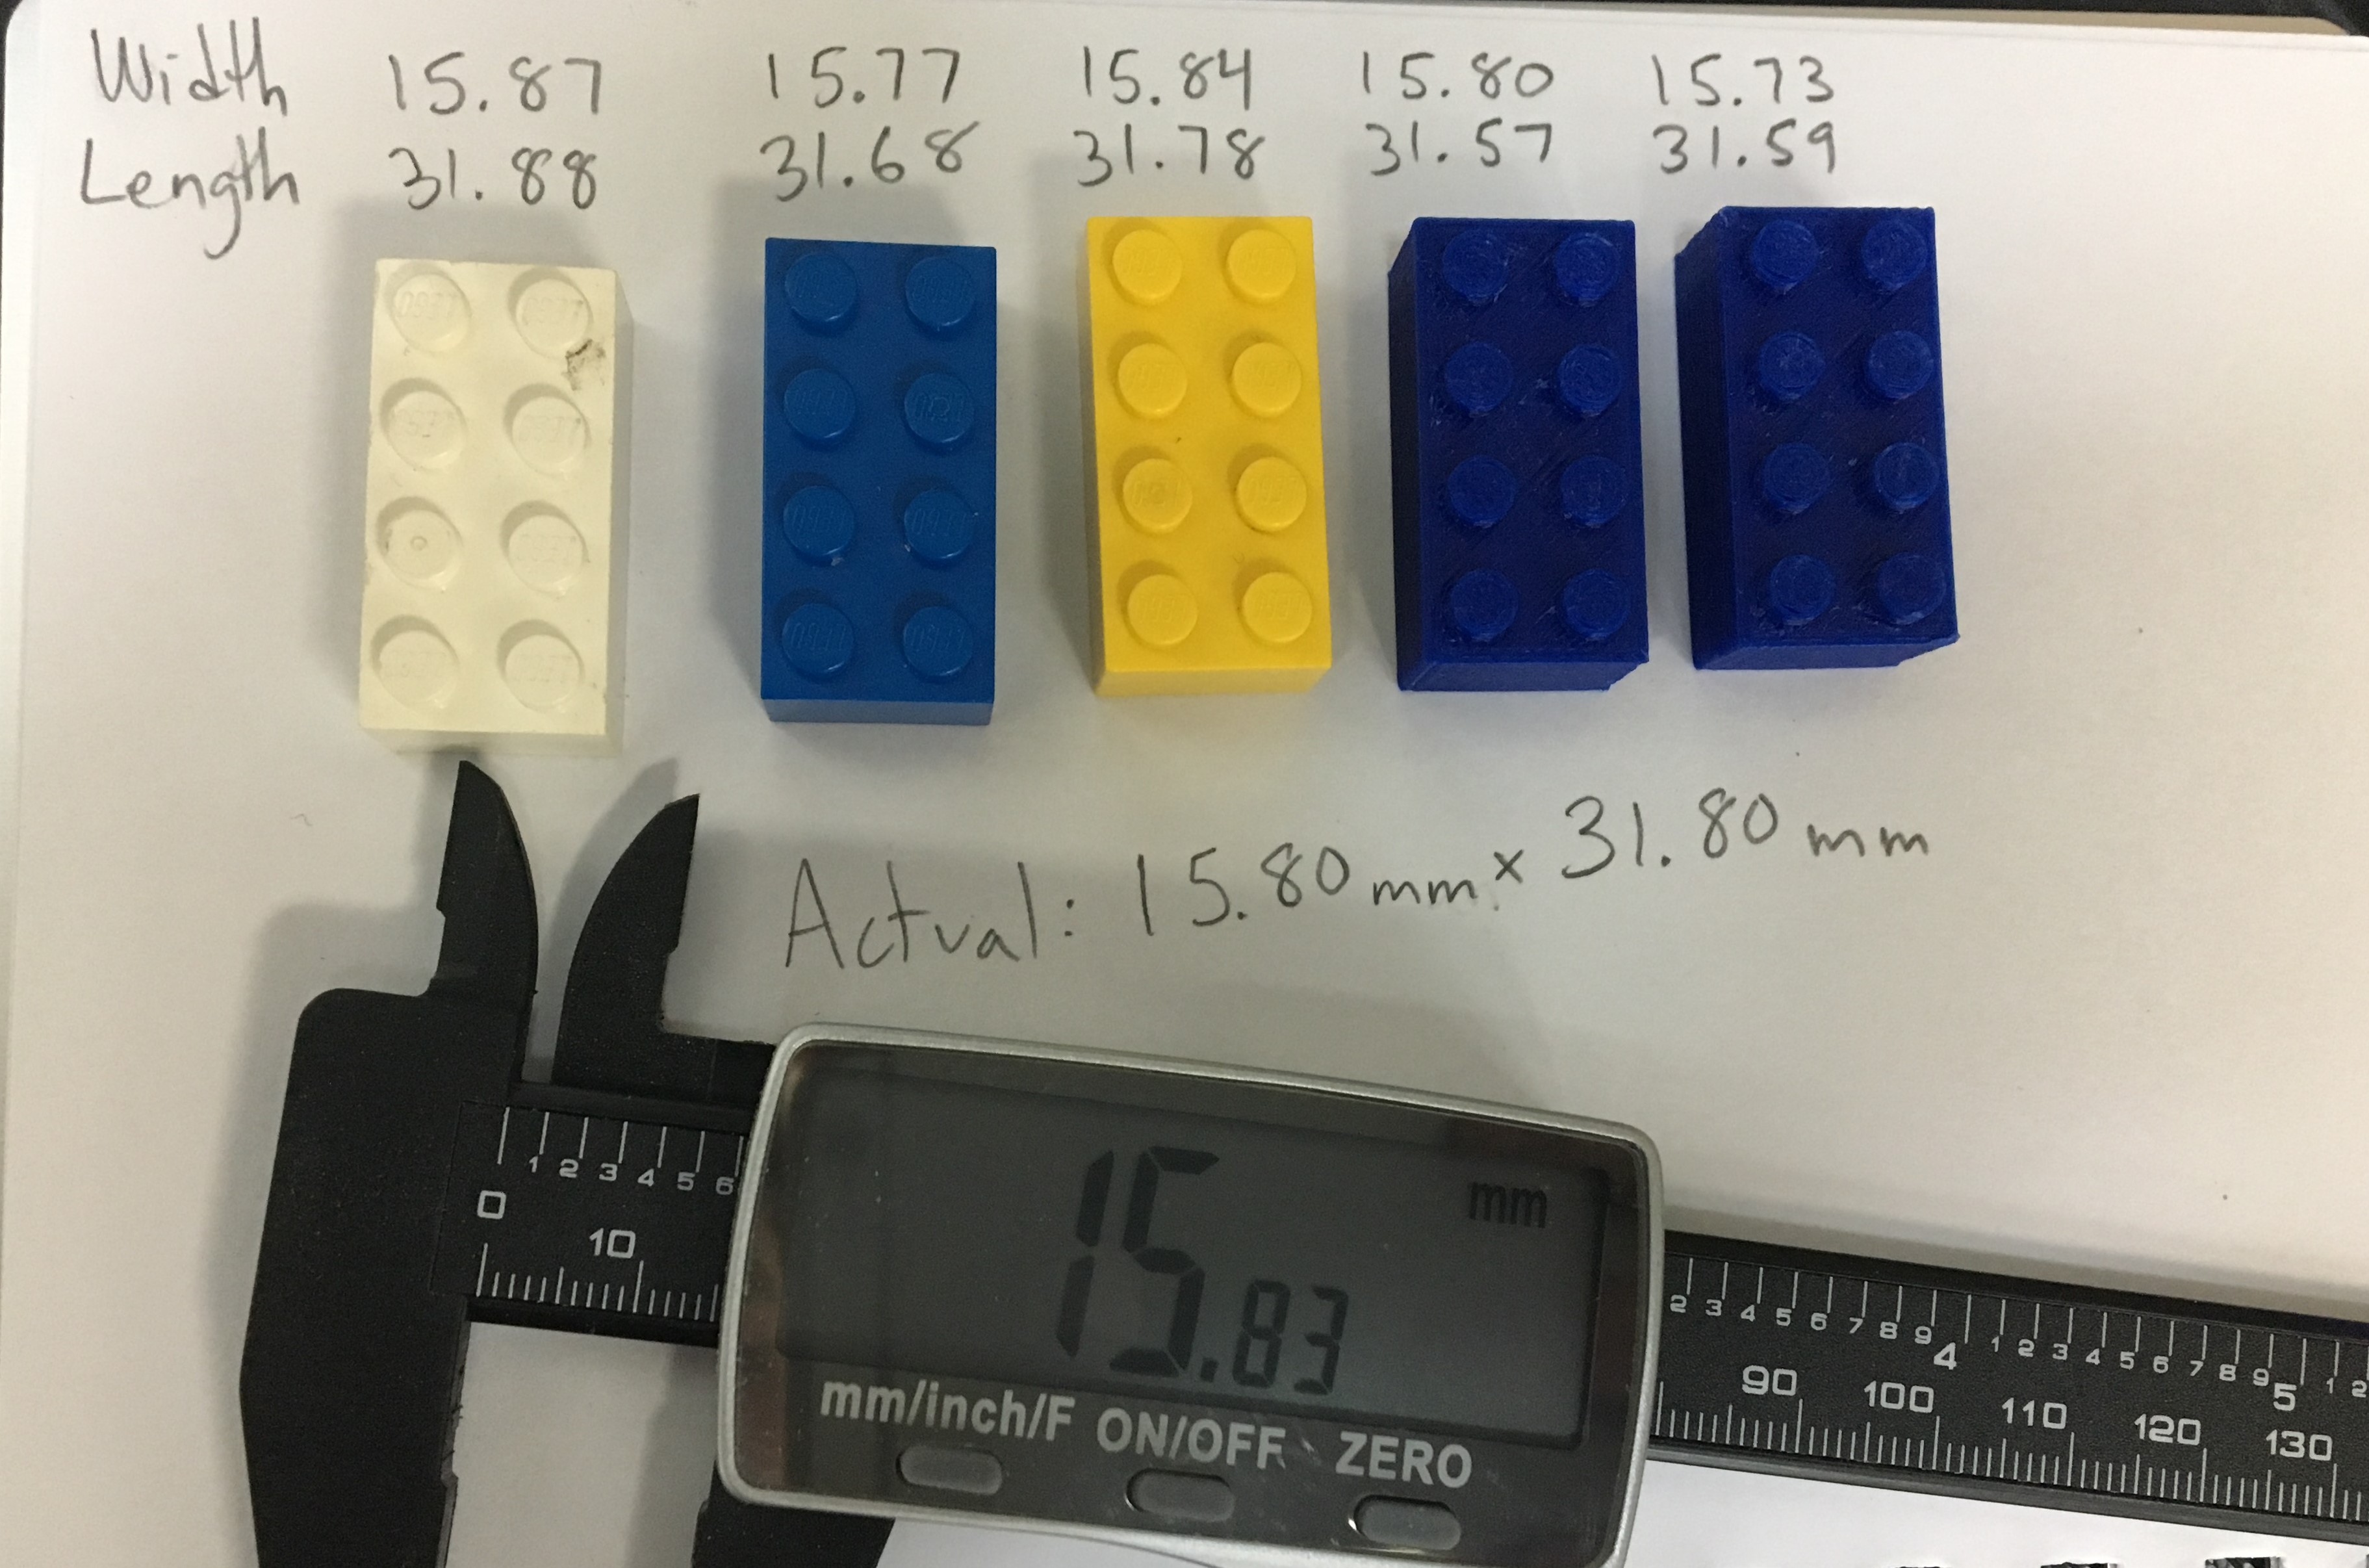
This second part seems unsurprising from research. The ABS causes a lot of adhesion issues due to contraction while cooling, so seeing a reduction in size is to be expected for the final product. What is surprising is the reduction seems to be mostly in terms of length; I assume the longer extrusion lines are the cause but can’t be certain. Returning to the first point, the two printed bricks being so close in size, that did surprise me. I had assumed with an automated process and high quality control on The Lego Group’s end there would be no way that my 30 minute printed bricks could match the original, but they have shown (in this small case and in no way conclusively) that they can physically and metaphorically stack up with the real thing.
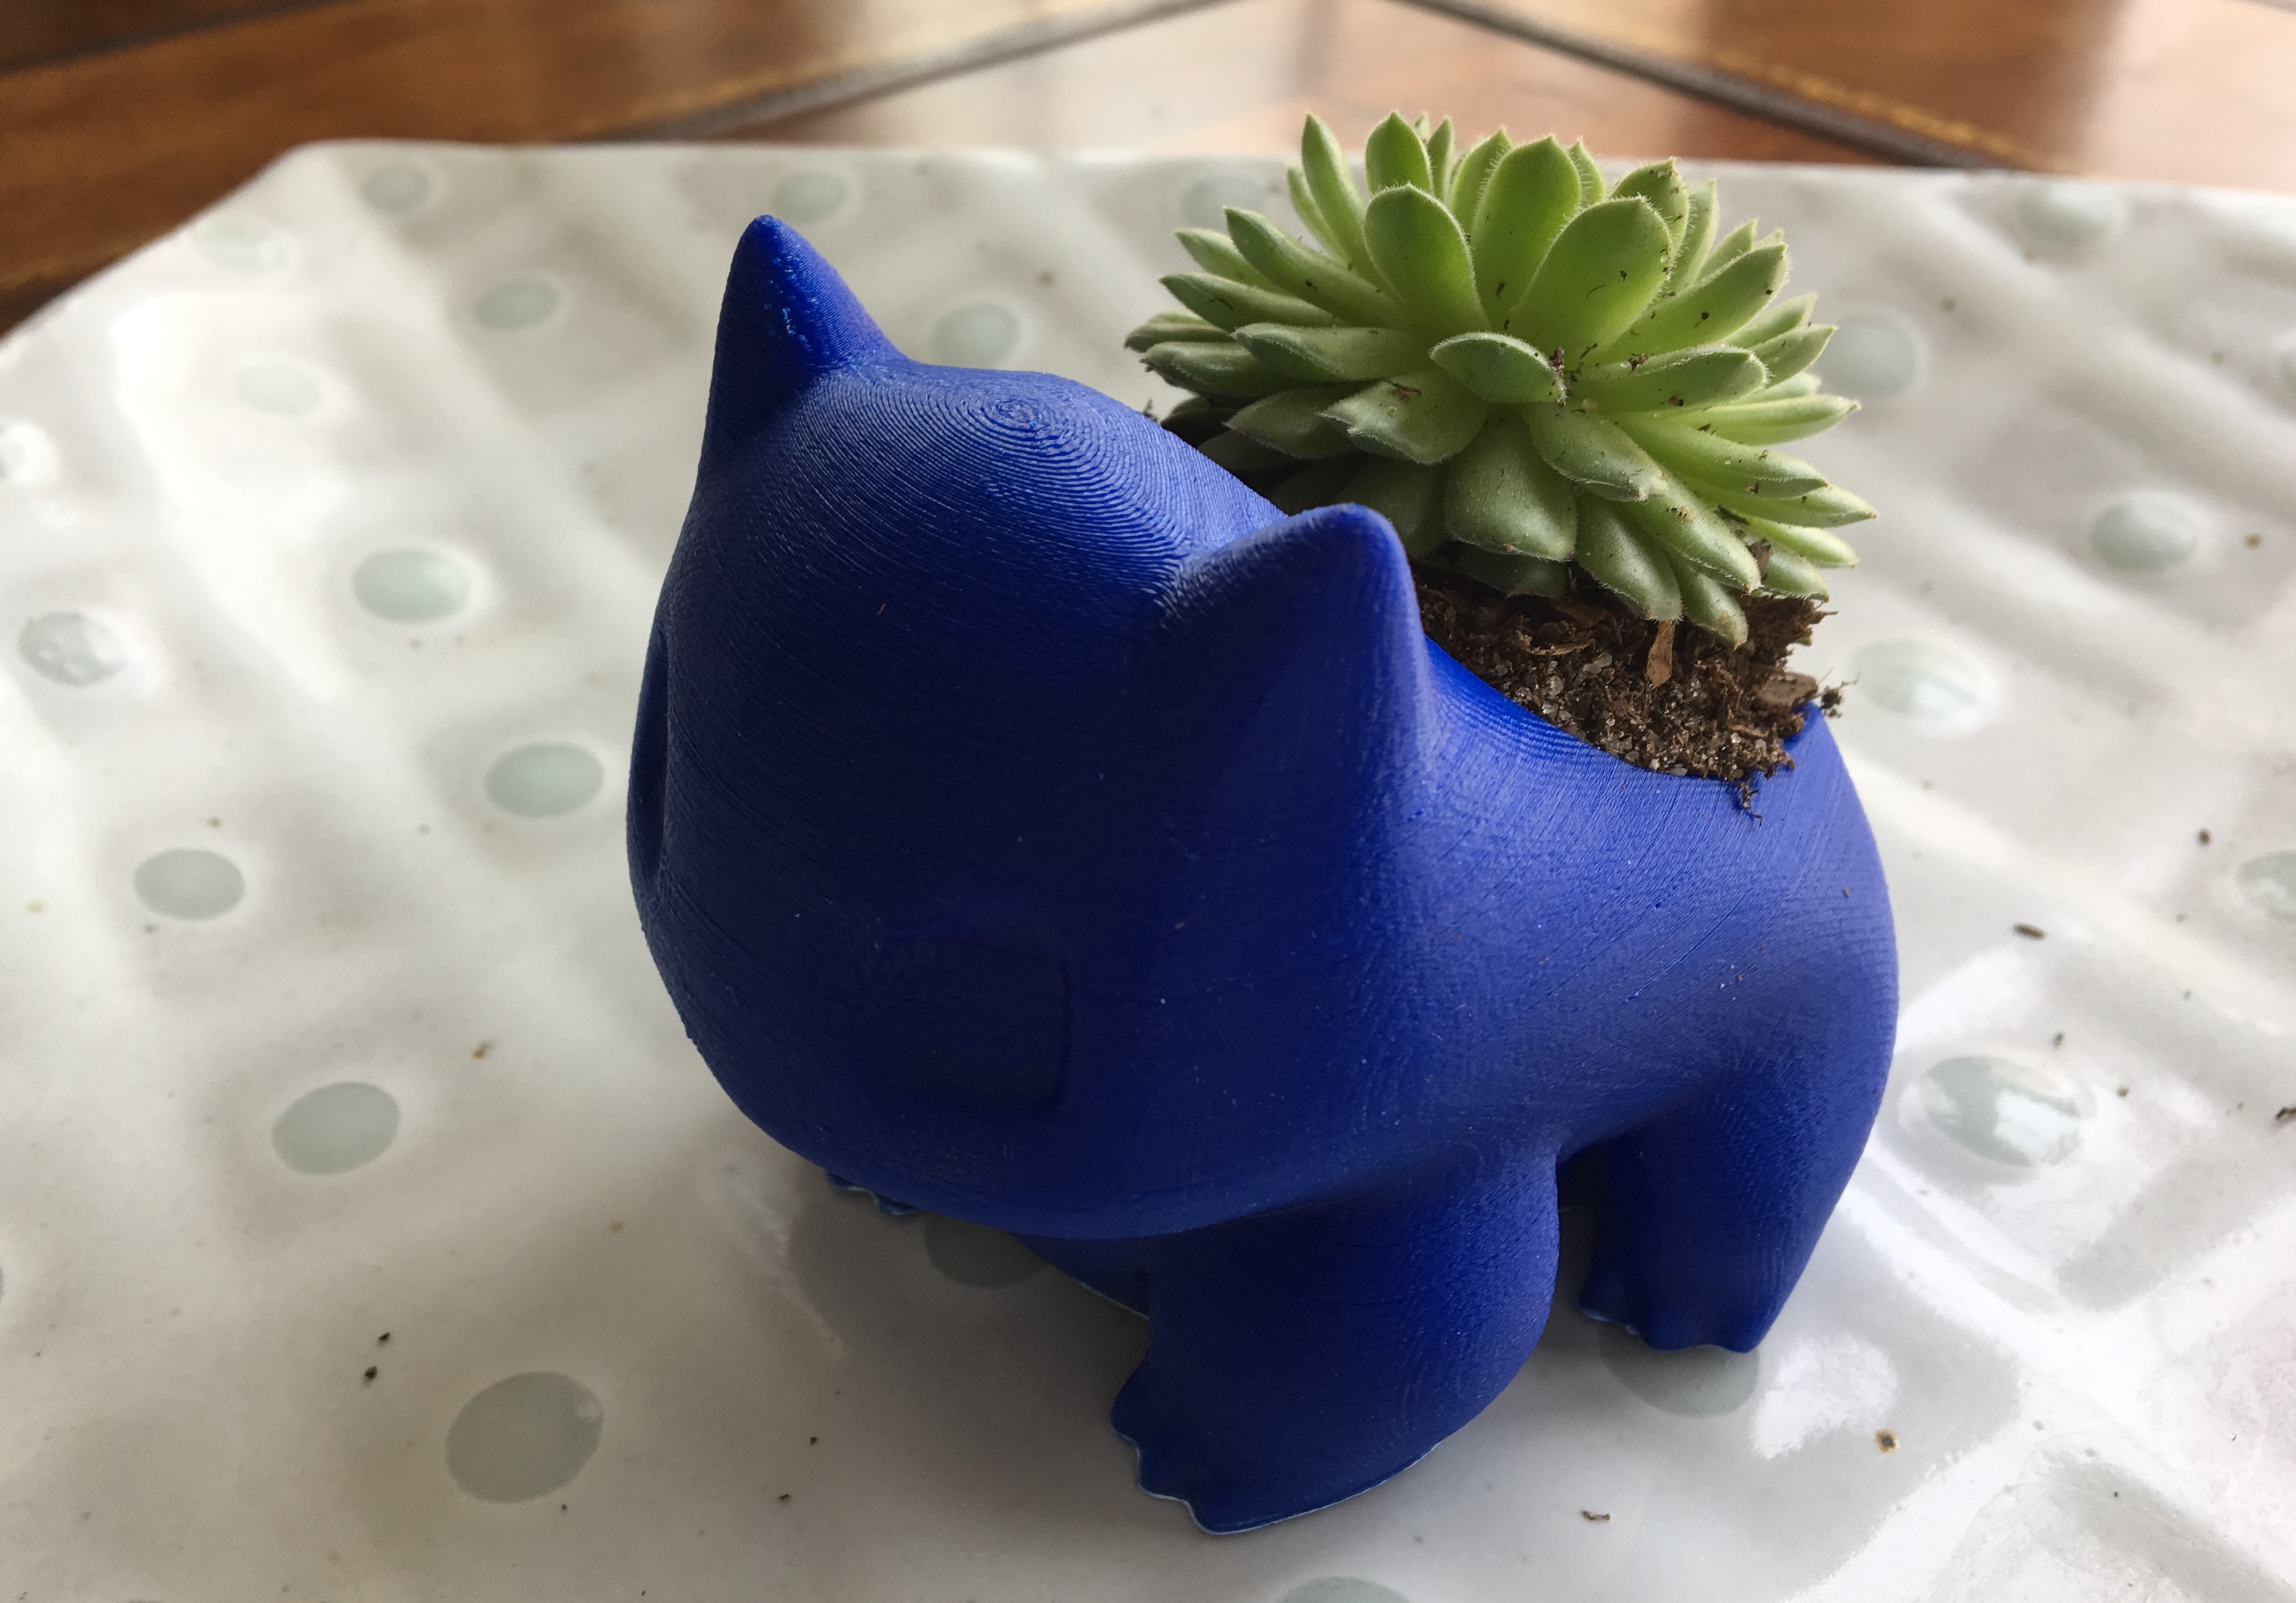
Having finally gotten a good setup for ABS printing, I decided to see how far I could go by printing a high detail, mostly solid, bulbasaur planter. Small note: there are very few filaments released currently that have been designated food safe by the FDA. I see people releasing kitchen items on Thingiverse to be used, and I cringe. There is no way that plastic particles aren’t contaminating the food that uses these items, and there is no knowledge of the consequences of ingesting some of these plastics. I don’t plan to grow anything edible in this planter either just to be safe of leaching. At the same time, we use ABS for children’s toys like Lego so the risk of instant death is minimal, but be safe regardless. Here is a link to a blog post discussing this in depth, I would suggest a read to weigh the risks.
Back to the planter, I made some interesting changes to the print to try to stress test the printer and learn how to get super high quality prints. I did a .1 mm layer height PLA test print to start, but that was a small lounge chair model that was fast and easy. This bulbasaur print is about 7 cm in all dimensions, and I set the print speed lower and the infill at 30% with a .1 mm layer height. This would hopefully mean a higher quality due to the slower and more careful print speed, as well as sturdier with a higher infill (infill is basically the density of the layer weave where higher infill means tighter layer lines, thus more material filling the model). This would also mean a MUCH longer print time, my longest so far had been 40 minutes but this print ran for 8 hours!
Quick side note before results, because I can't seem to stop getting sidetracked; I never leave my printer unattended. Even after installing the MOSFET board, this is still a machine that has no smart features and will literally destroy itself and anything around it with a couple wrong instructions or even a print bed set too high. I prefer to stay in the room with the printer doing busy work to make sure nothing goes wrong, but checking on it every 15-30 minutes is also fine if you don’t want to be in the same room. Some have a computer aided monitoring solution to keep an eye on the printer (which is why I want octoprint grrr…). On the same page, even with these long prints I would also never let my printer run overnight. I’d rather a fire start when I am awake and alert enough to stop it than when I’m half asleep, and most users would agree with this, so do be safe.
Cutting back to the planter again, and it has finally finished and it really looks incredible:
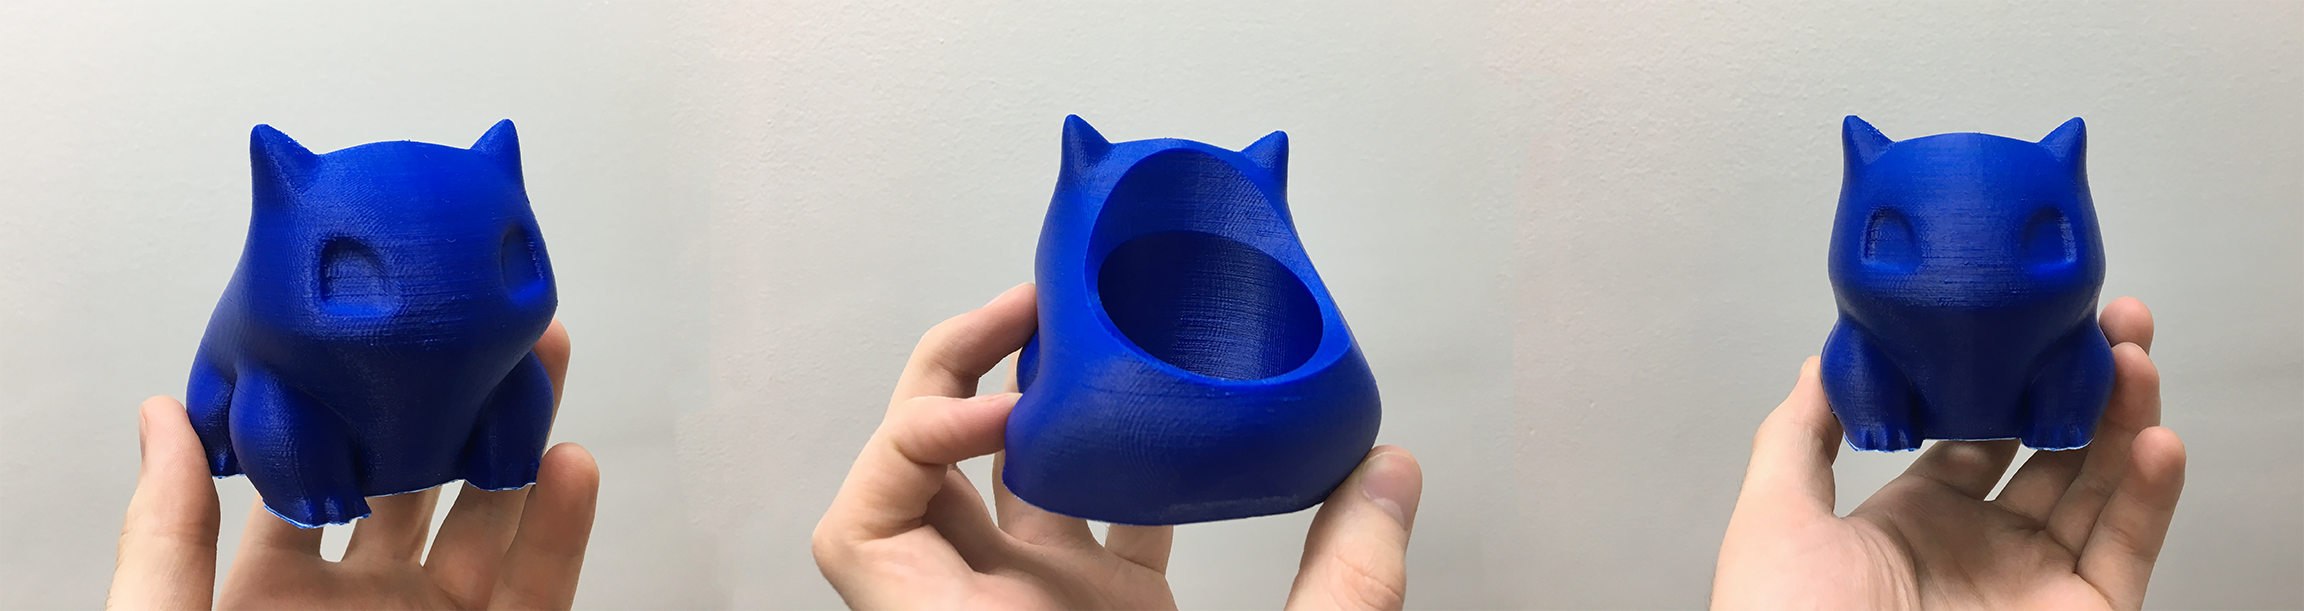
If I did this again, I would certainly bump up the print speed and decrease the infill, but the results speak for themselves, this printer is a workhorse. I regularly checked the main control case during the print to check for overheating, but the computer ran cool the entire time. The extruder as well maintained a consistently good performance, the layers are smooth and the seams where the extruder starts and ends each layer are noticeable only by touch and careful eye. Now my focus will be printing a spool holder mod, the Z-brace mod, and getting a succulent or cactus to fill my new planter.
Before ending this post, there’s a cliff hanger for you that doesn’t involve a broken SD card. My purpose for printing two lego bricks wasn’t to test tolerances, I have something very cool in mind for my next printing post. Thanks for reading!
Links referenced:
Cool Octoprint Stuff – Blog post on cool things that a Raspberry Pi with Octoprint can do.
Lego Dimensions – For those who want to know how big a Lego is.
3D Printing and Food Safety – A good article on the real dangers of 3D printing food/drink/plant items.
Lego Brick – Thingiverse file of brick I used.
Bulbasaur Planter – Thingiverse file of Bulbasaur Planter.