Hey, it’s uhh, been a while. I hope the fancy animated graphic above distracts you from the big gap between entries. Obviously my working on the animation is the reason this took so long. Few updates and changes before I get into the main topic. First, I live and work in Vermont now! But with my new rental, there are pets that make me wary of continuing my 3D printing adventures.
Just so I don’t completely ignore the Lego cliff hanger, I unfortunately have to let you down. I was playing with acetone vapor washing to get an enamel look for one of the lego pieces, either the print was too old or the ABS was not cooperating, but I was not getting the expected results. I got a light gloss on the piece I tried, but honestly the look is so subtle it doesn’t even come across on camera. I’ll include some links below of the intended results/process, and I might try this again more earnestly in the future.
Onto the Show...
But I wouldn’t be writing a blog entry unless I was doing something cool. This time it’s a bit more primitive than 3D printing, I picked up blacksmithing at a local makerspace. In a similar fashion to 3D printing, I found blacksmithing an interesting blend of science and art to create incredible results. I’ll be going through my own process, a bit of the science, and a little of the safety. Blacksmith tool and starter videos are a dime a dozen, I’ll link a few at the end, but I’m definitely not qualified to talk about that topic.
The first thing you should always talk about is safety with any of these types of projects, always wear eye protection and wear clothes that can’t catch any hot material that flies off (tight fitting or tight cuffed clothes). As well, everything is hot. This sounds obvious, but I mean EVERYTHING is hot. The steel you work is hot, the 2000°F propane furnace (and thus the area around it) is hot, and everything those things touch are hot. Your tongs, anvil, and hammer are all VERY HOT. And the important part is that this is a good thing, while your anvil and hammer are hot you will have more time to work your piece on the anvil before reheating.
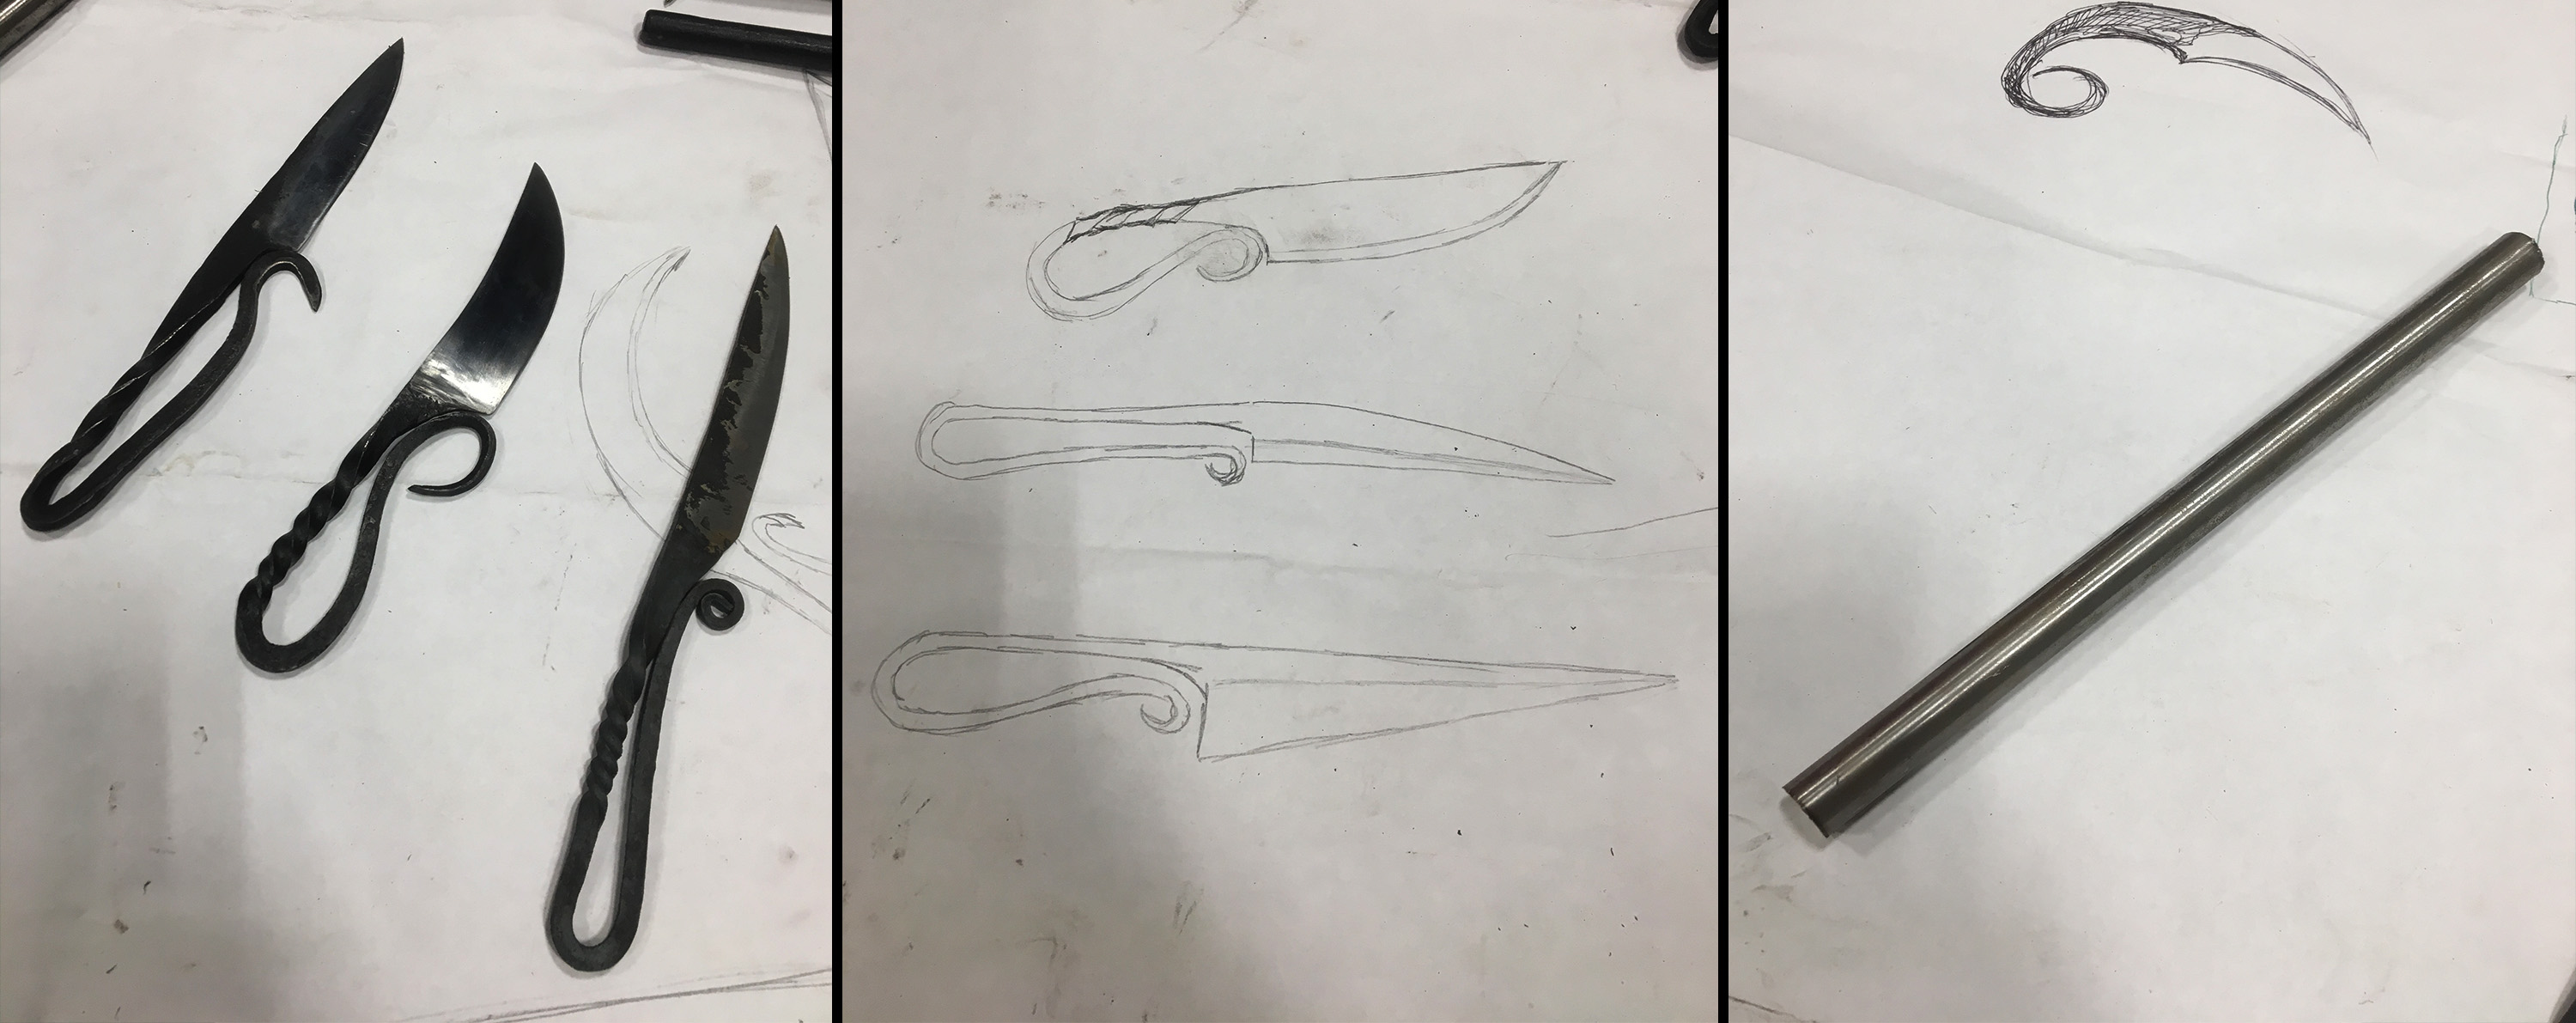
My first project was a blacksmith’s knife, which teaches a few core mechanics of smithing. But before we talk about the art, let’s talk science. Before heating a metal, you should always know the complete make up of it. Fume fever is not a joke, which is why blacksmiths almost exclusive start with stock from a steel yard or reclaimed steel with a known make up (railroad ties and automotive spring steel are most common). But why steel? Why does adding carbon atoms to iron make it the no-brainer metal for tools like knives?
First, the amount of carbon in steel is about .02-1.7% by weight. Other types of steel like Stainless Steel will have 10-11% chromium by weight, which helps make it rust resistant. But the key seems to be the small amount of carbon, this prevents the pure iron atoms from sliding across each other making the structure both harder and stronger. However, in the base crystalline structure of ferrite is not very good for knives. This is why you can’t just cut out a knife shape on a plasma cutter, sand bevels to sharpness, and have a ready knife.
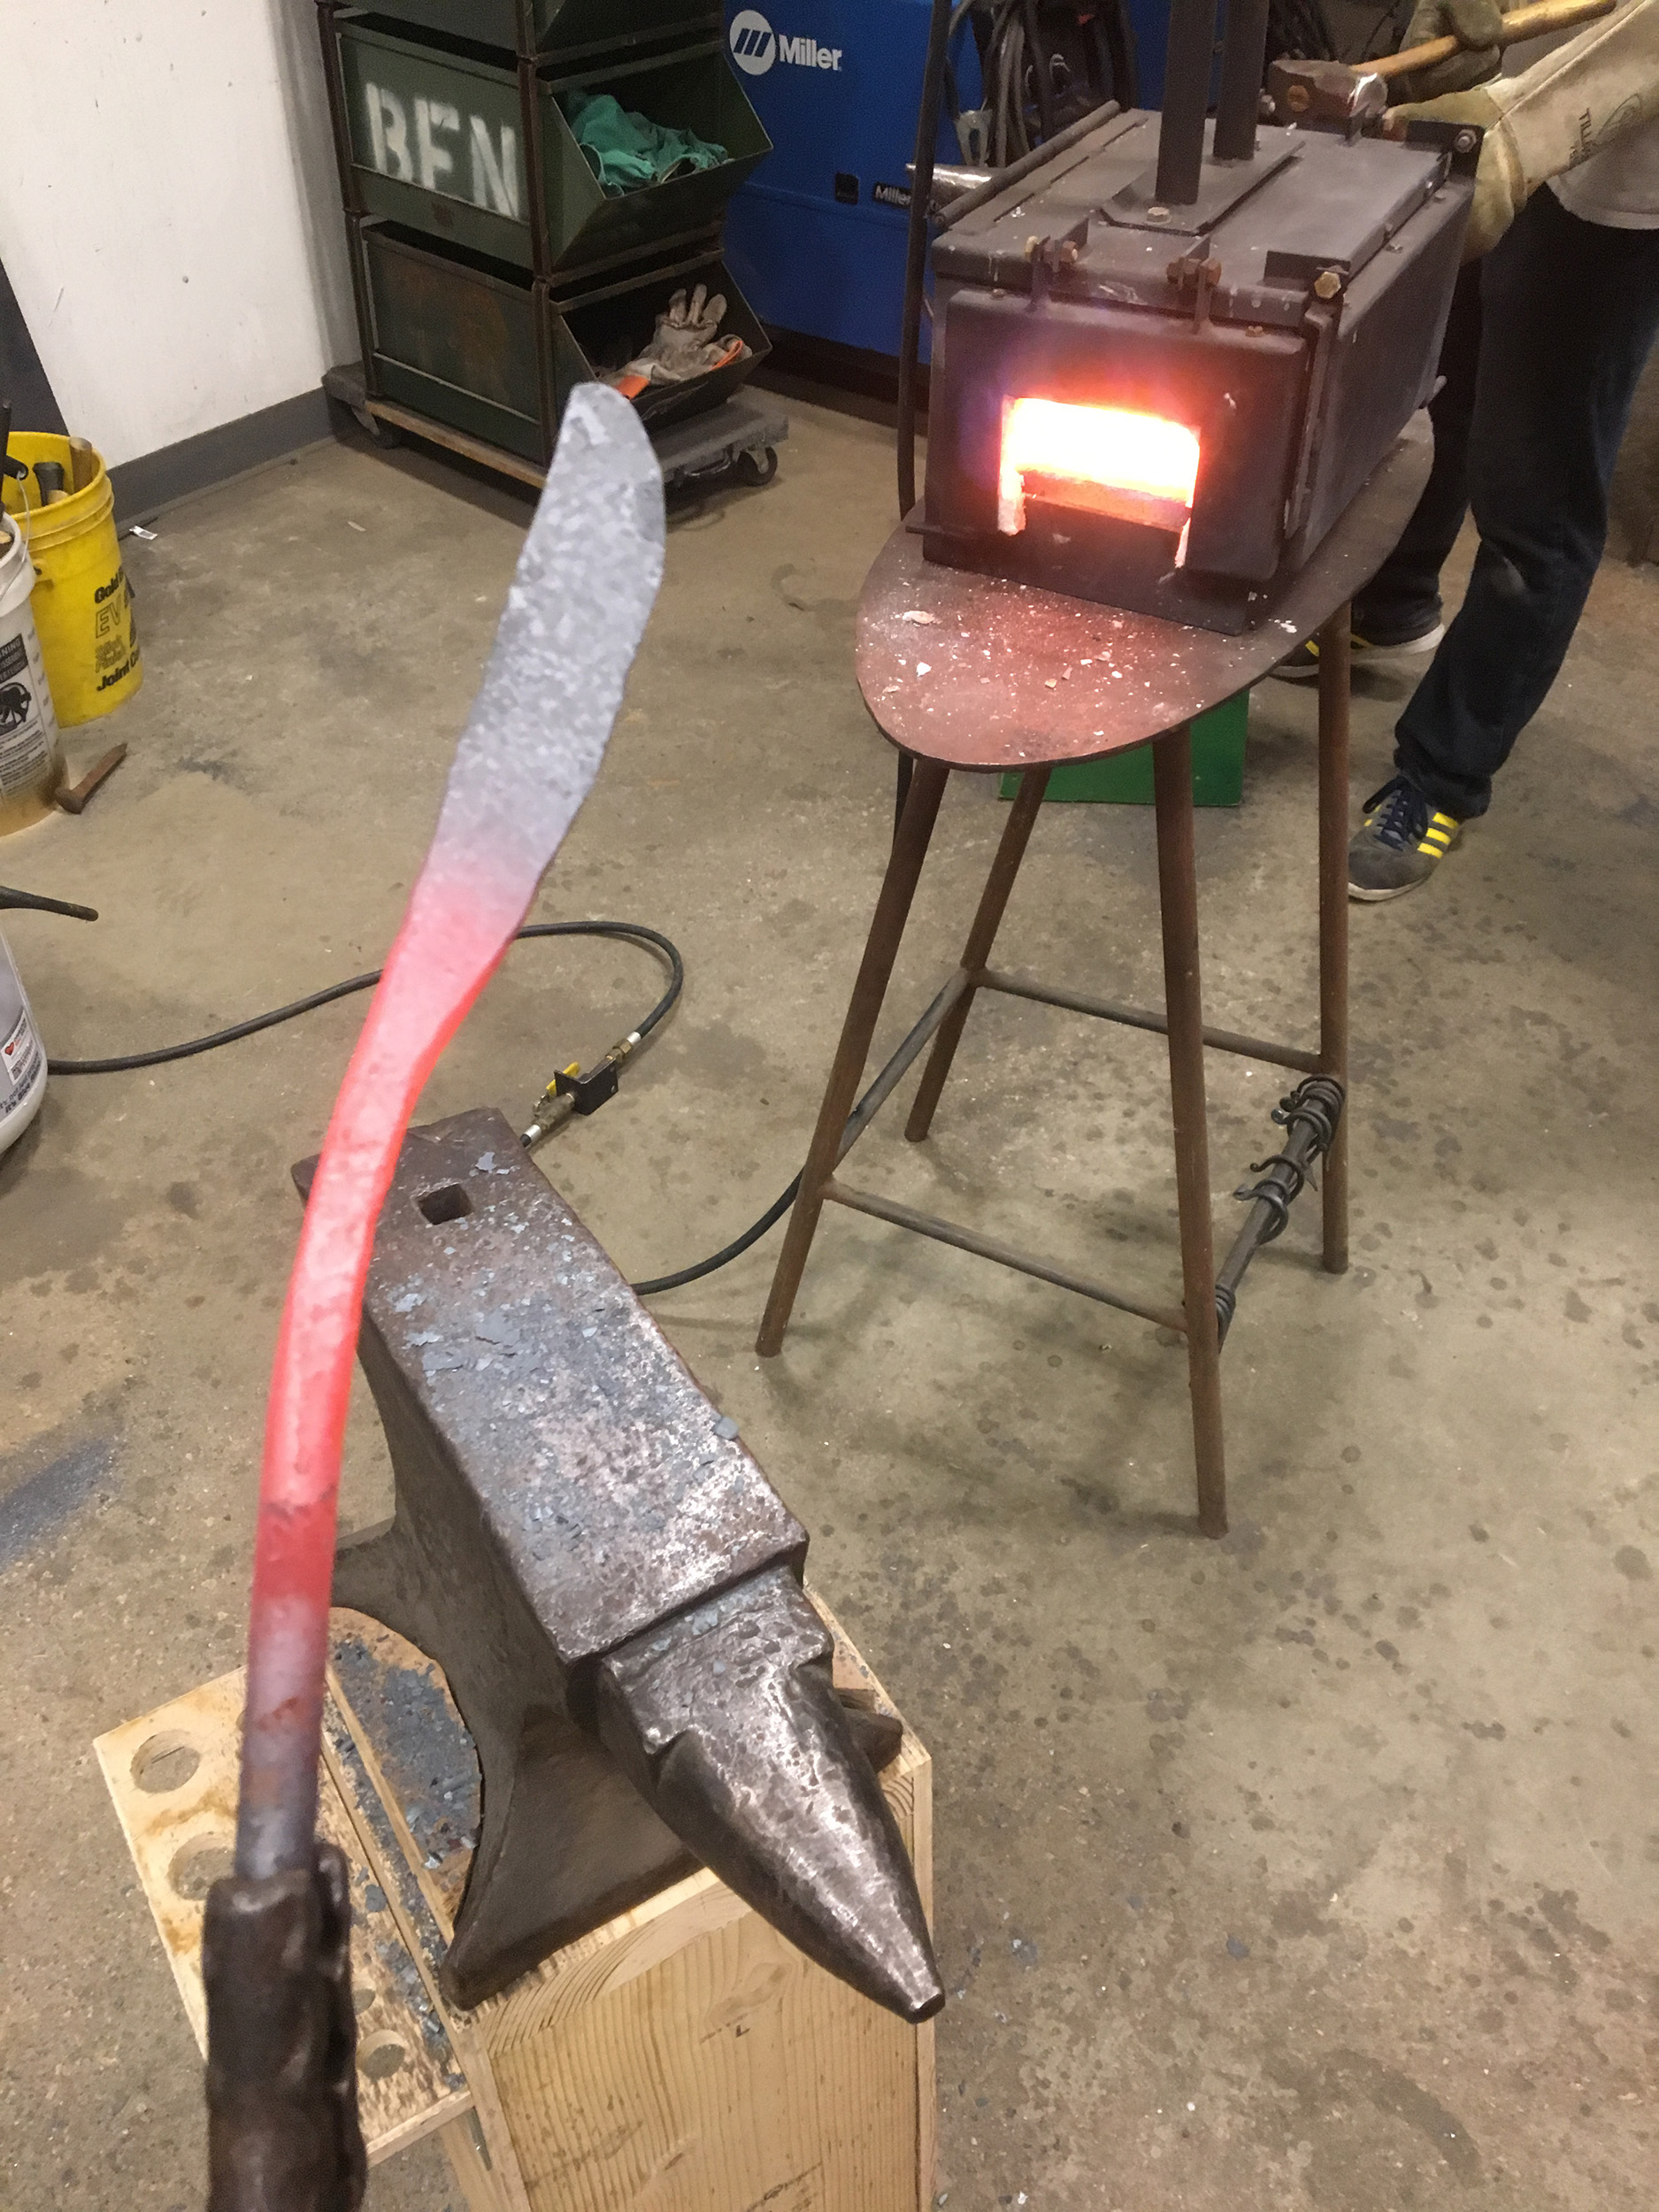
When you heat steel to between 1,674 to 2,541°F, the structure of steel changes to austenite, making the steel more plastic. This is the point where you can hammer a steel and it will stay in the form it is moved. Being able to move an easily found metal that is non-toxic and can last as a tool for a long time is the reason it is the go to metal since 1000 BCE.
This seems like a good transition into why a blacksmith’s knife is a good starting project. There are some key techniques for blacksmithing: flattening, drawing, twisting, bending, and upsetting. Flattening, twisting, and bending speaks for themselves, but what is drawing and upsetting? Drawing out is thinning and lengthening a piece of metal, while upsetting is fattening and shortening a piece of metal. Imagine stretch and squash in animation (and you thought the gif at the start was just to impress you). While the knife doesn’t employ the use of upsetting, I did draw out the tang (back portion of a blade) that eventually turned into my handle.
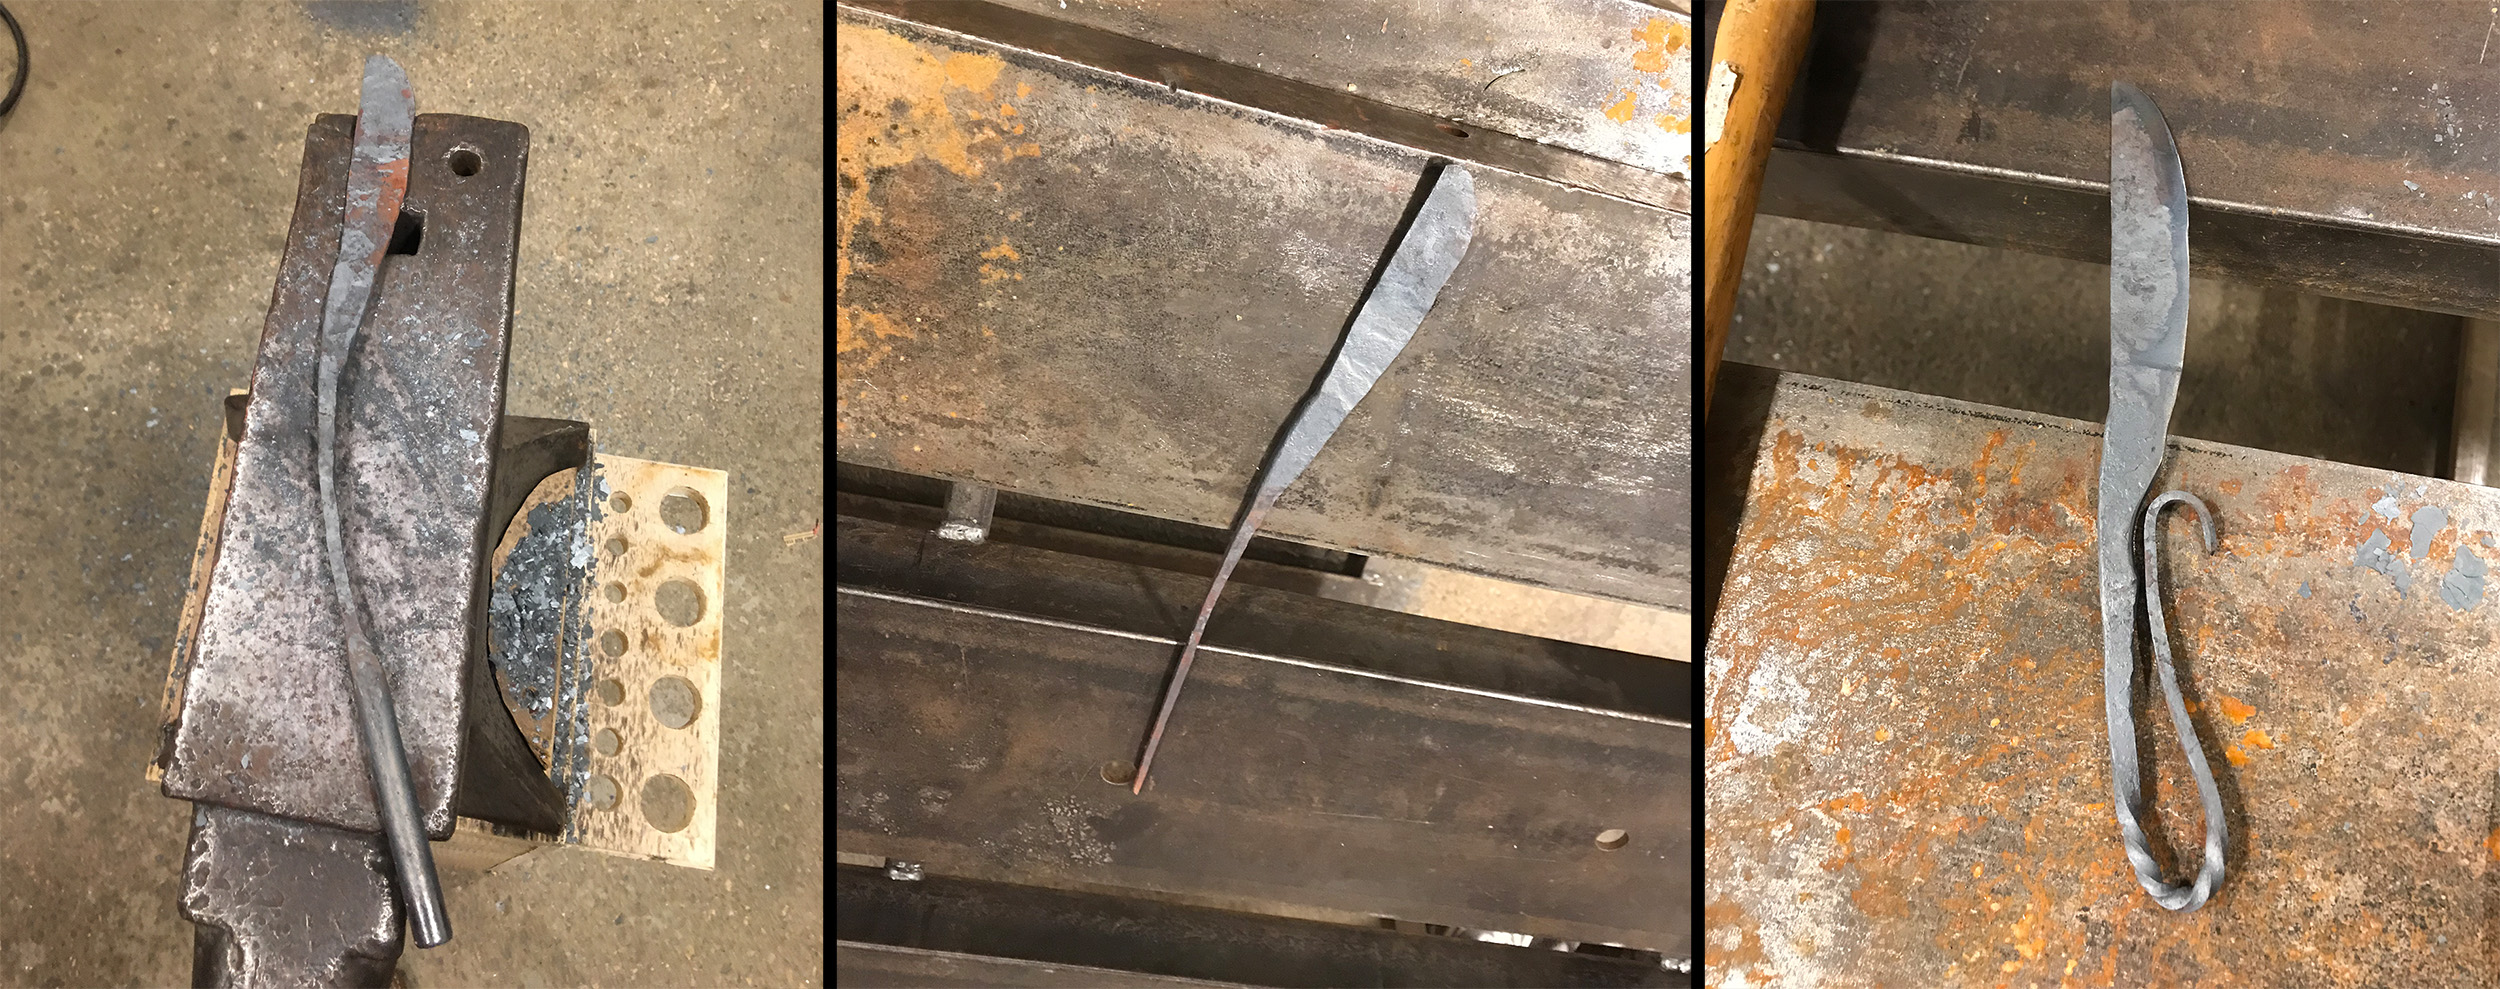
The technique side of blacksmithing is interesting, flattening is done just as you’d expect, hitting the parts that you want flat, but because you now have a longer portion of a blade (the cutting part) attached to a shorter end (the spine) you can get a knife that starts to look like a banana. This can be fixed by using a wood hammer on your edge to flatten the spine, but things get wonky if you don’t pay attention. The method for drawing out is to alternate your piece 90° with every hammer swing so you equally stretch the metal lengthwise. You don’t need to turn the piece completely clockwise every 4 swings, just switching between two perpendicular sides work because not only is the hammer moving the top portion of the metal, but the anvil underneath is working the same way for the bottom portion. This is why a heavier anvil can help move metal faster, it’s like the other side of your hammer that allows for better energy transfer in your swings.
Once I got my blade to a point where its shape is correct and the bevels are sanded in, that was the time for heat treat. Now back to the science! I heated the blade to the austenite level again, a good way to test for the correct temperature is that the steel will become non-magnetic. Then, it is shocked by a rapid change to a lower temperature to form a new structure, martensite. This process is called the heat-treat, where the tool is quenched, and that forces the atoms into a stressed state. We used warm vegetable oil for our quenching liquid, but some steels use water or other oils for this process. This is where the blade I'm making gets its hardness for holding a sharp edge longer than if it were made of other materials.
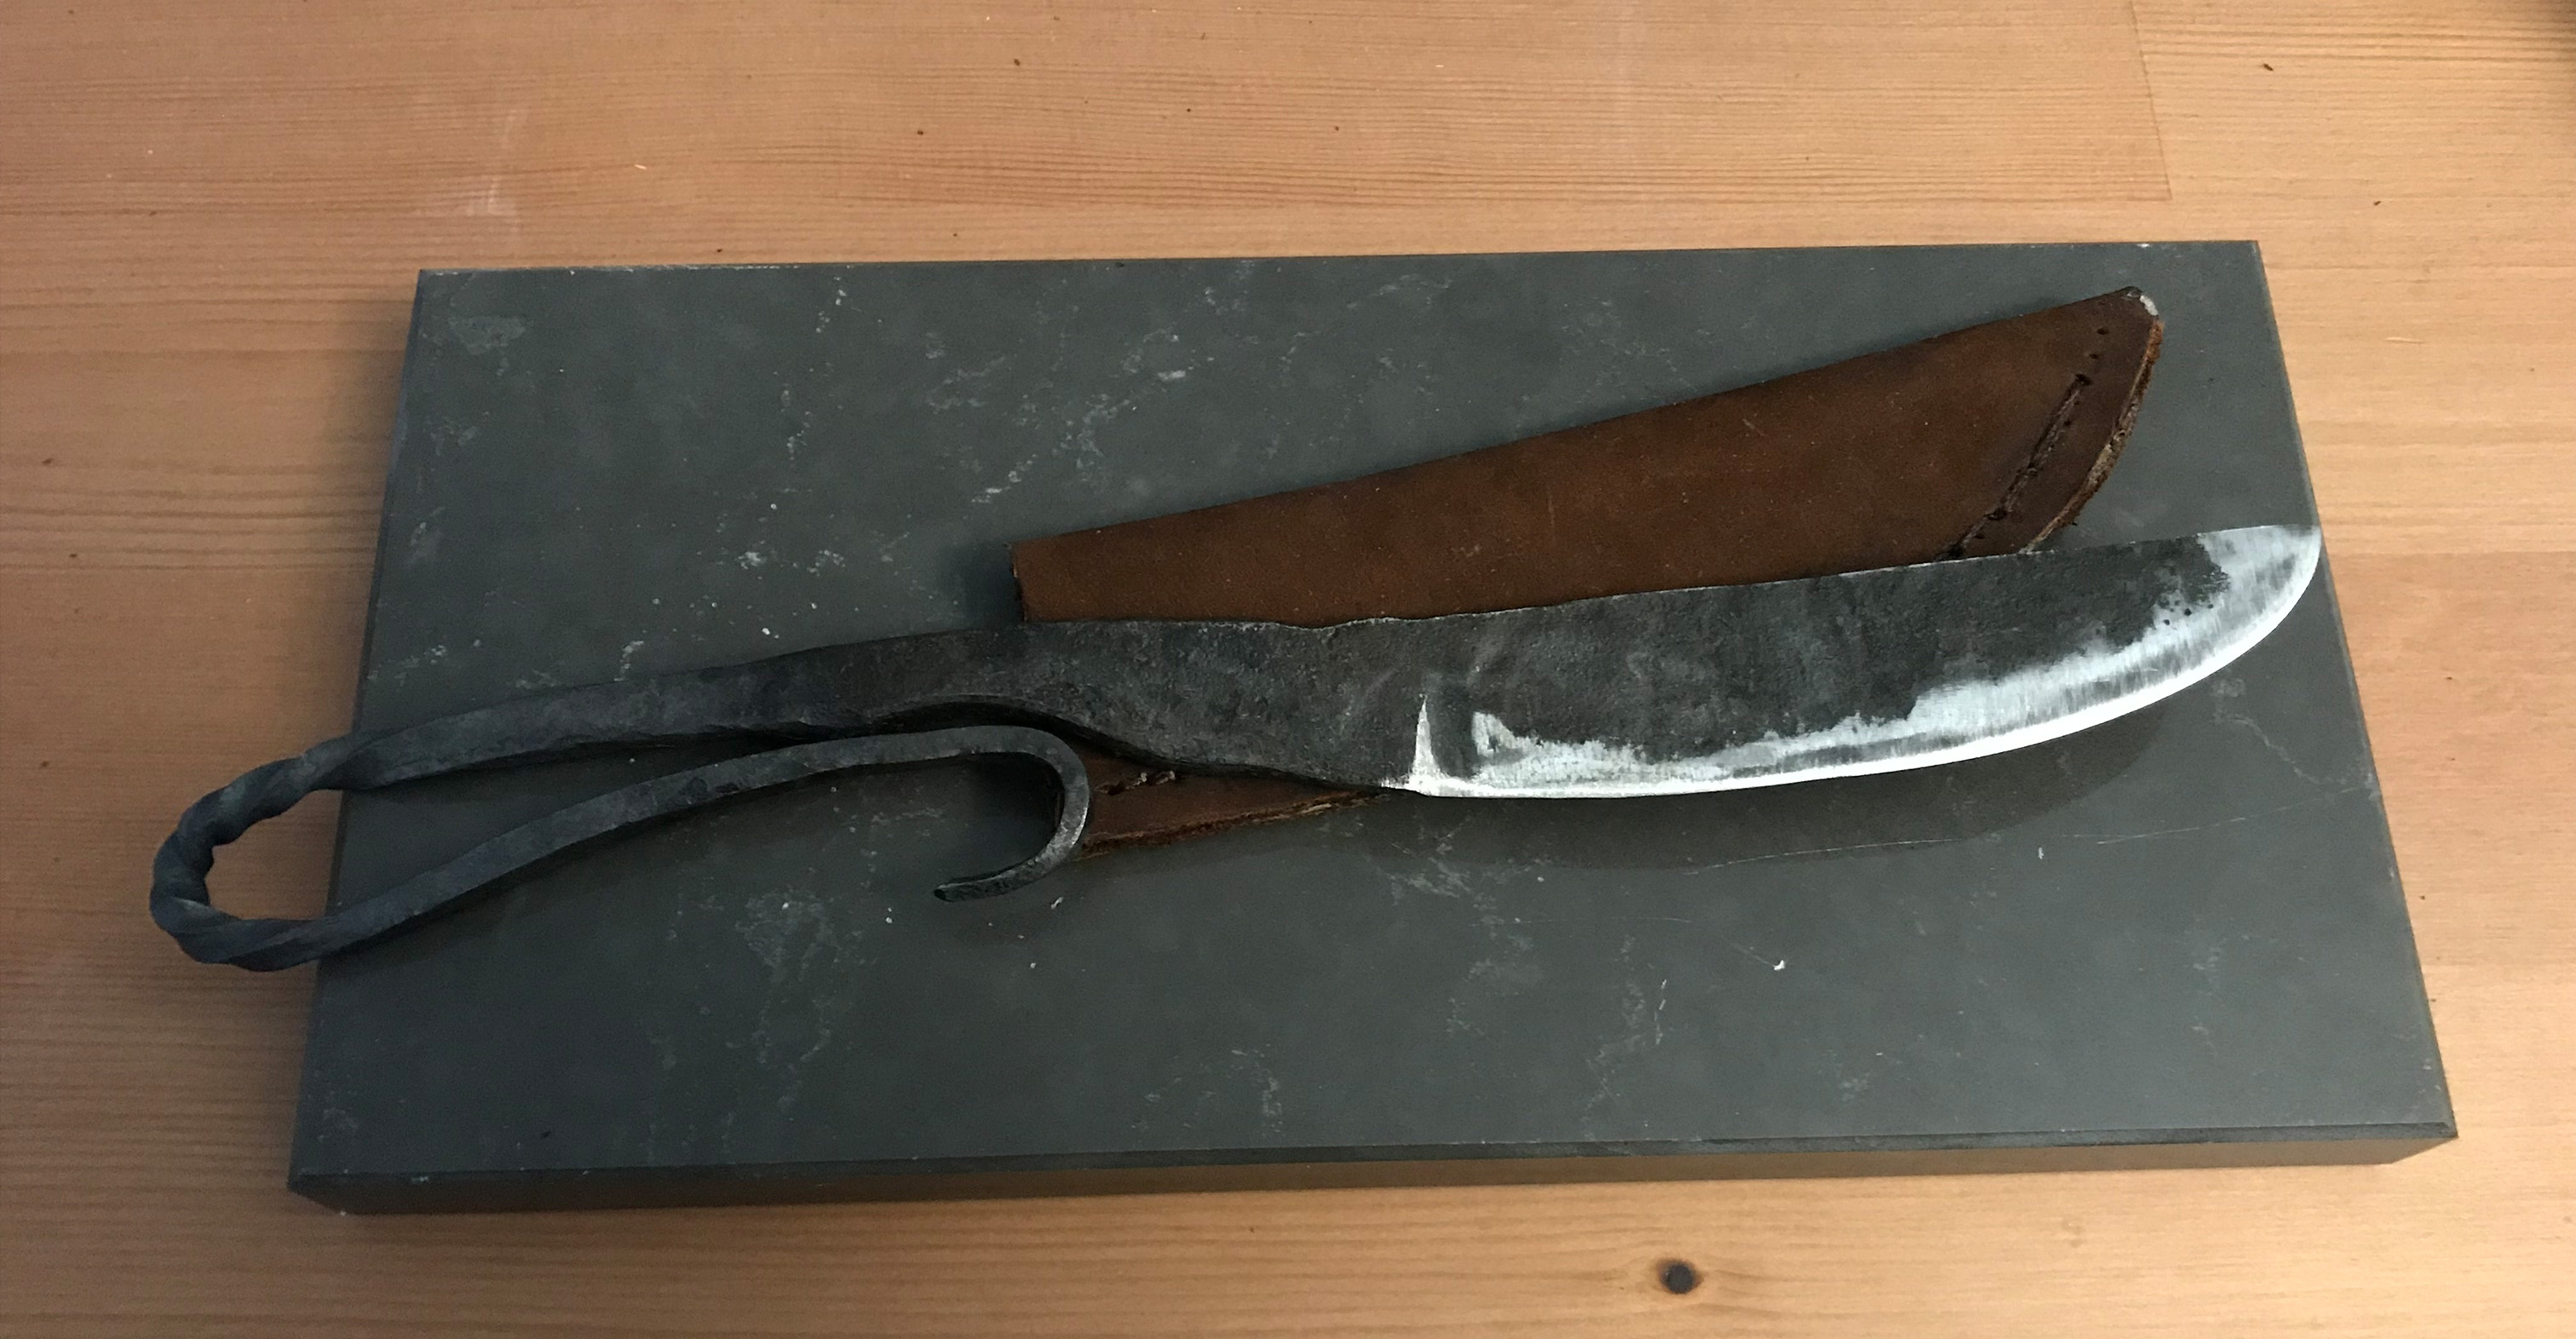
Post quench, the tool is very hard, but very brittle, so tempering is required. Letting the tool go through a few hour long cycles of 350-400°F allows the knife to retain most of its hardness and regain a bit of elasticity to the knife won’t crack through normal use. At that point, a couple hours of sanding on a variable speed belt sander and whetstones gives us a finished knife:
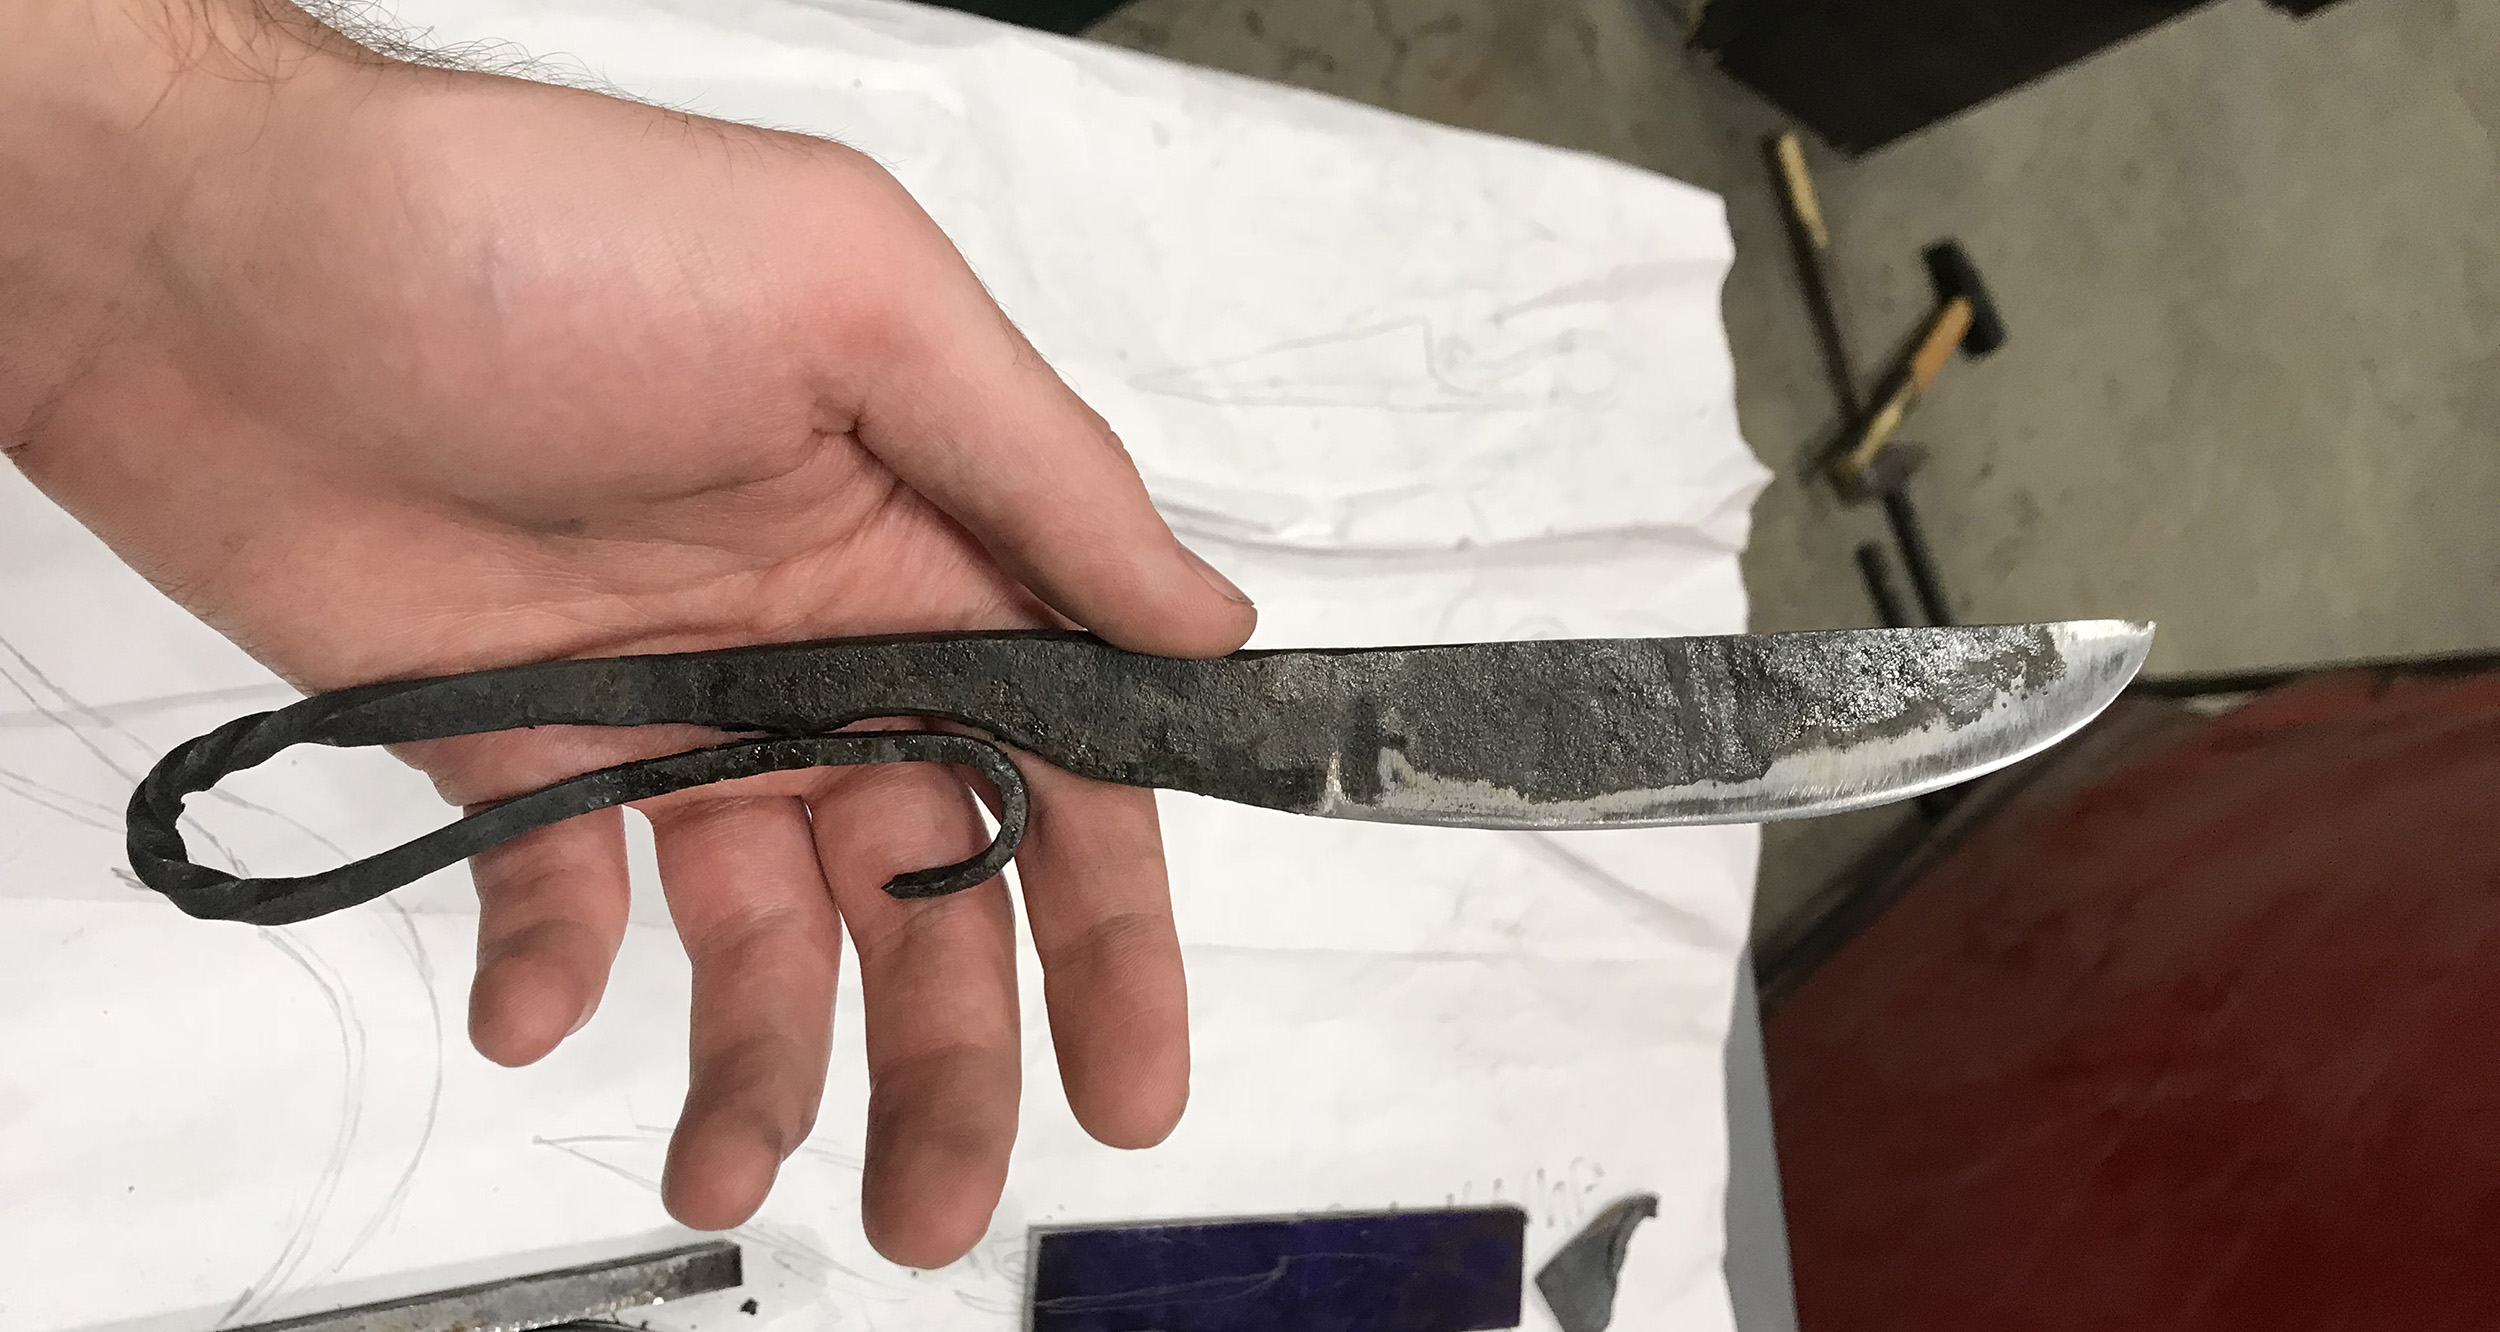
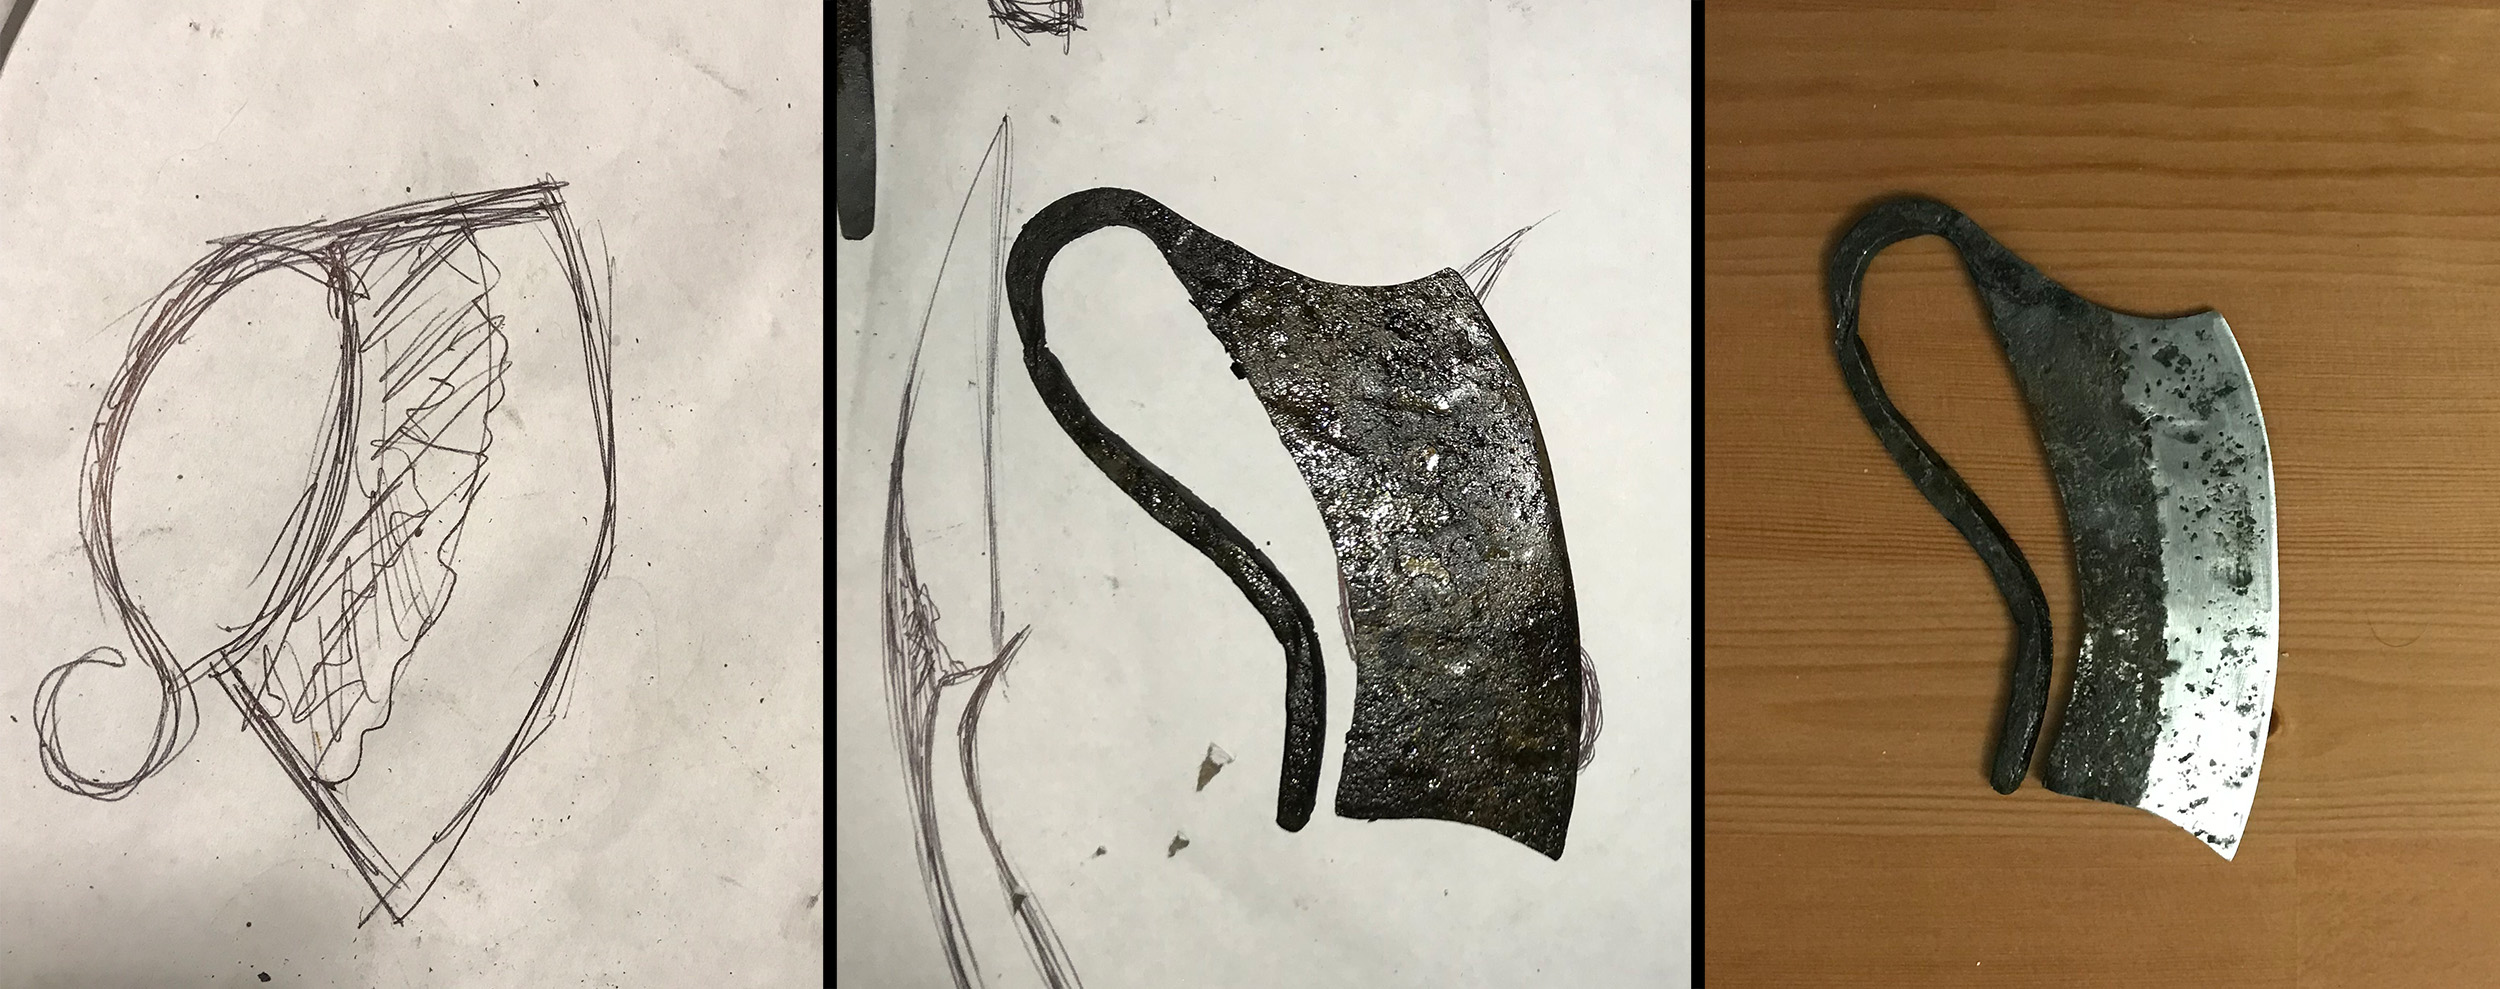
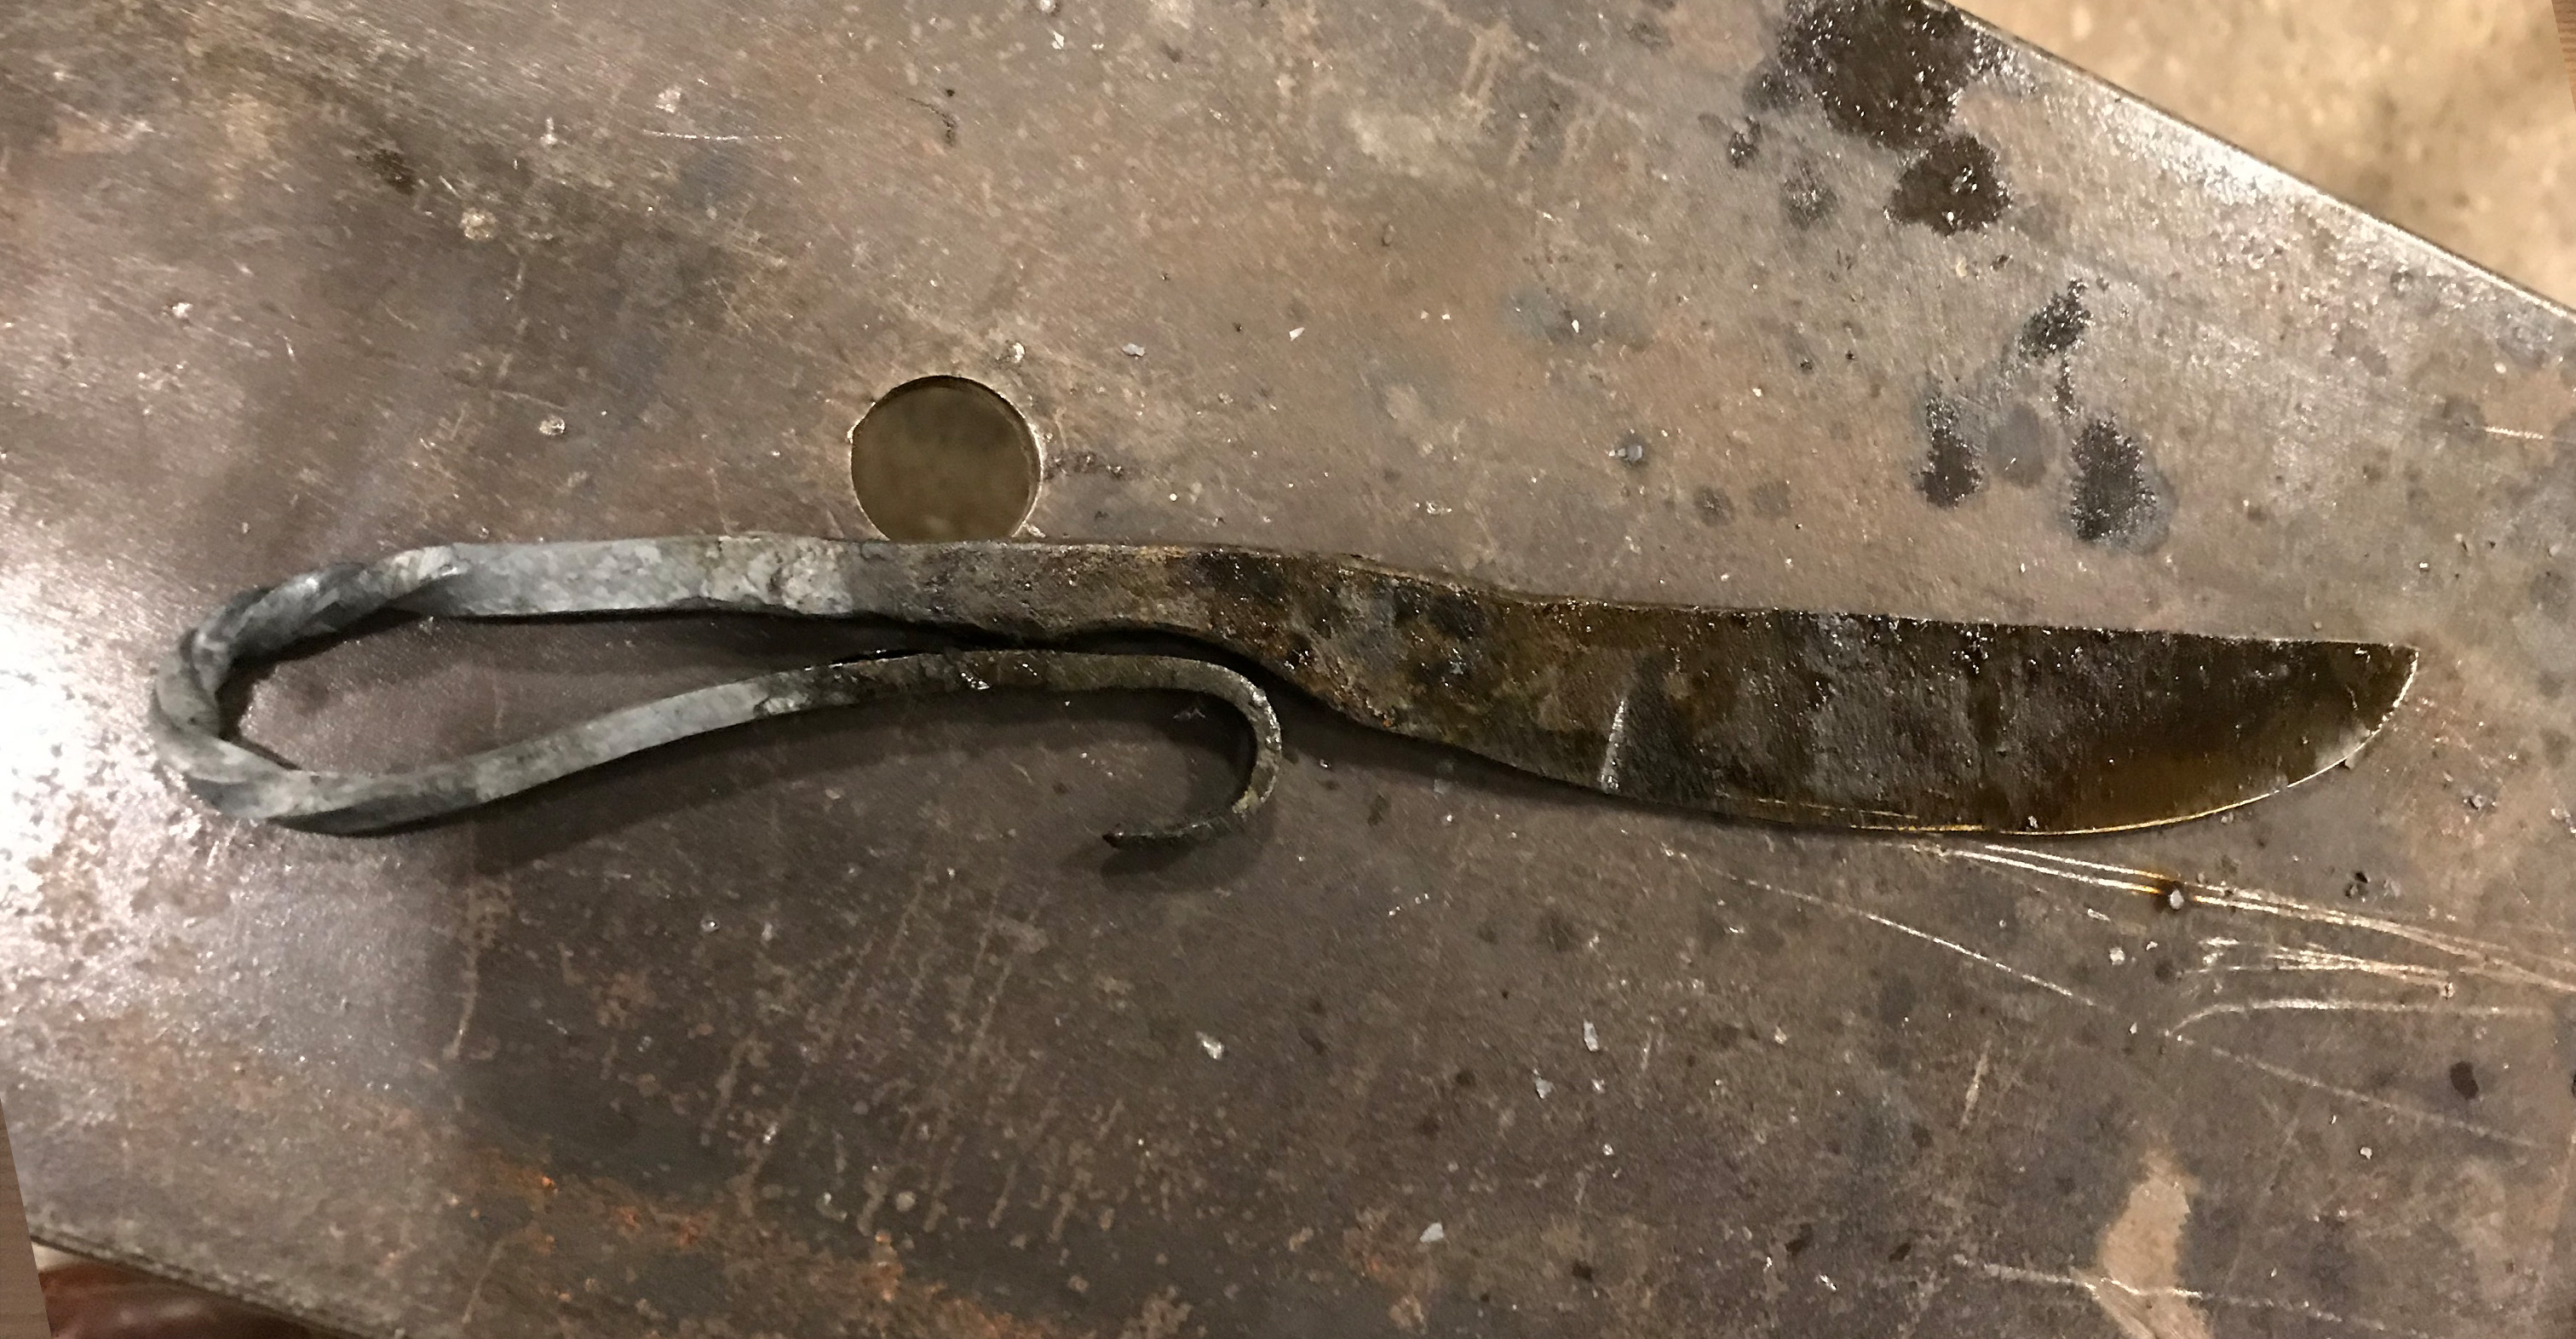
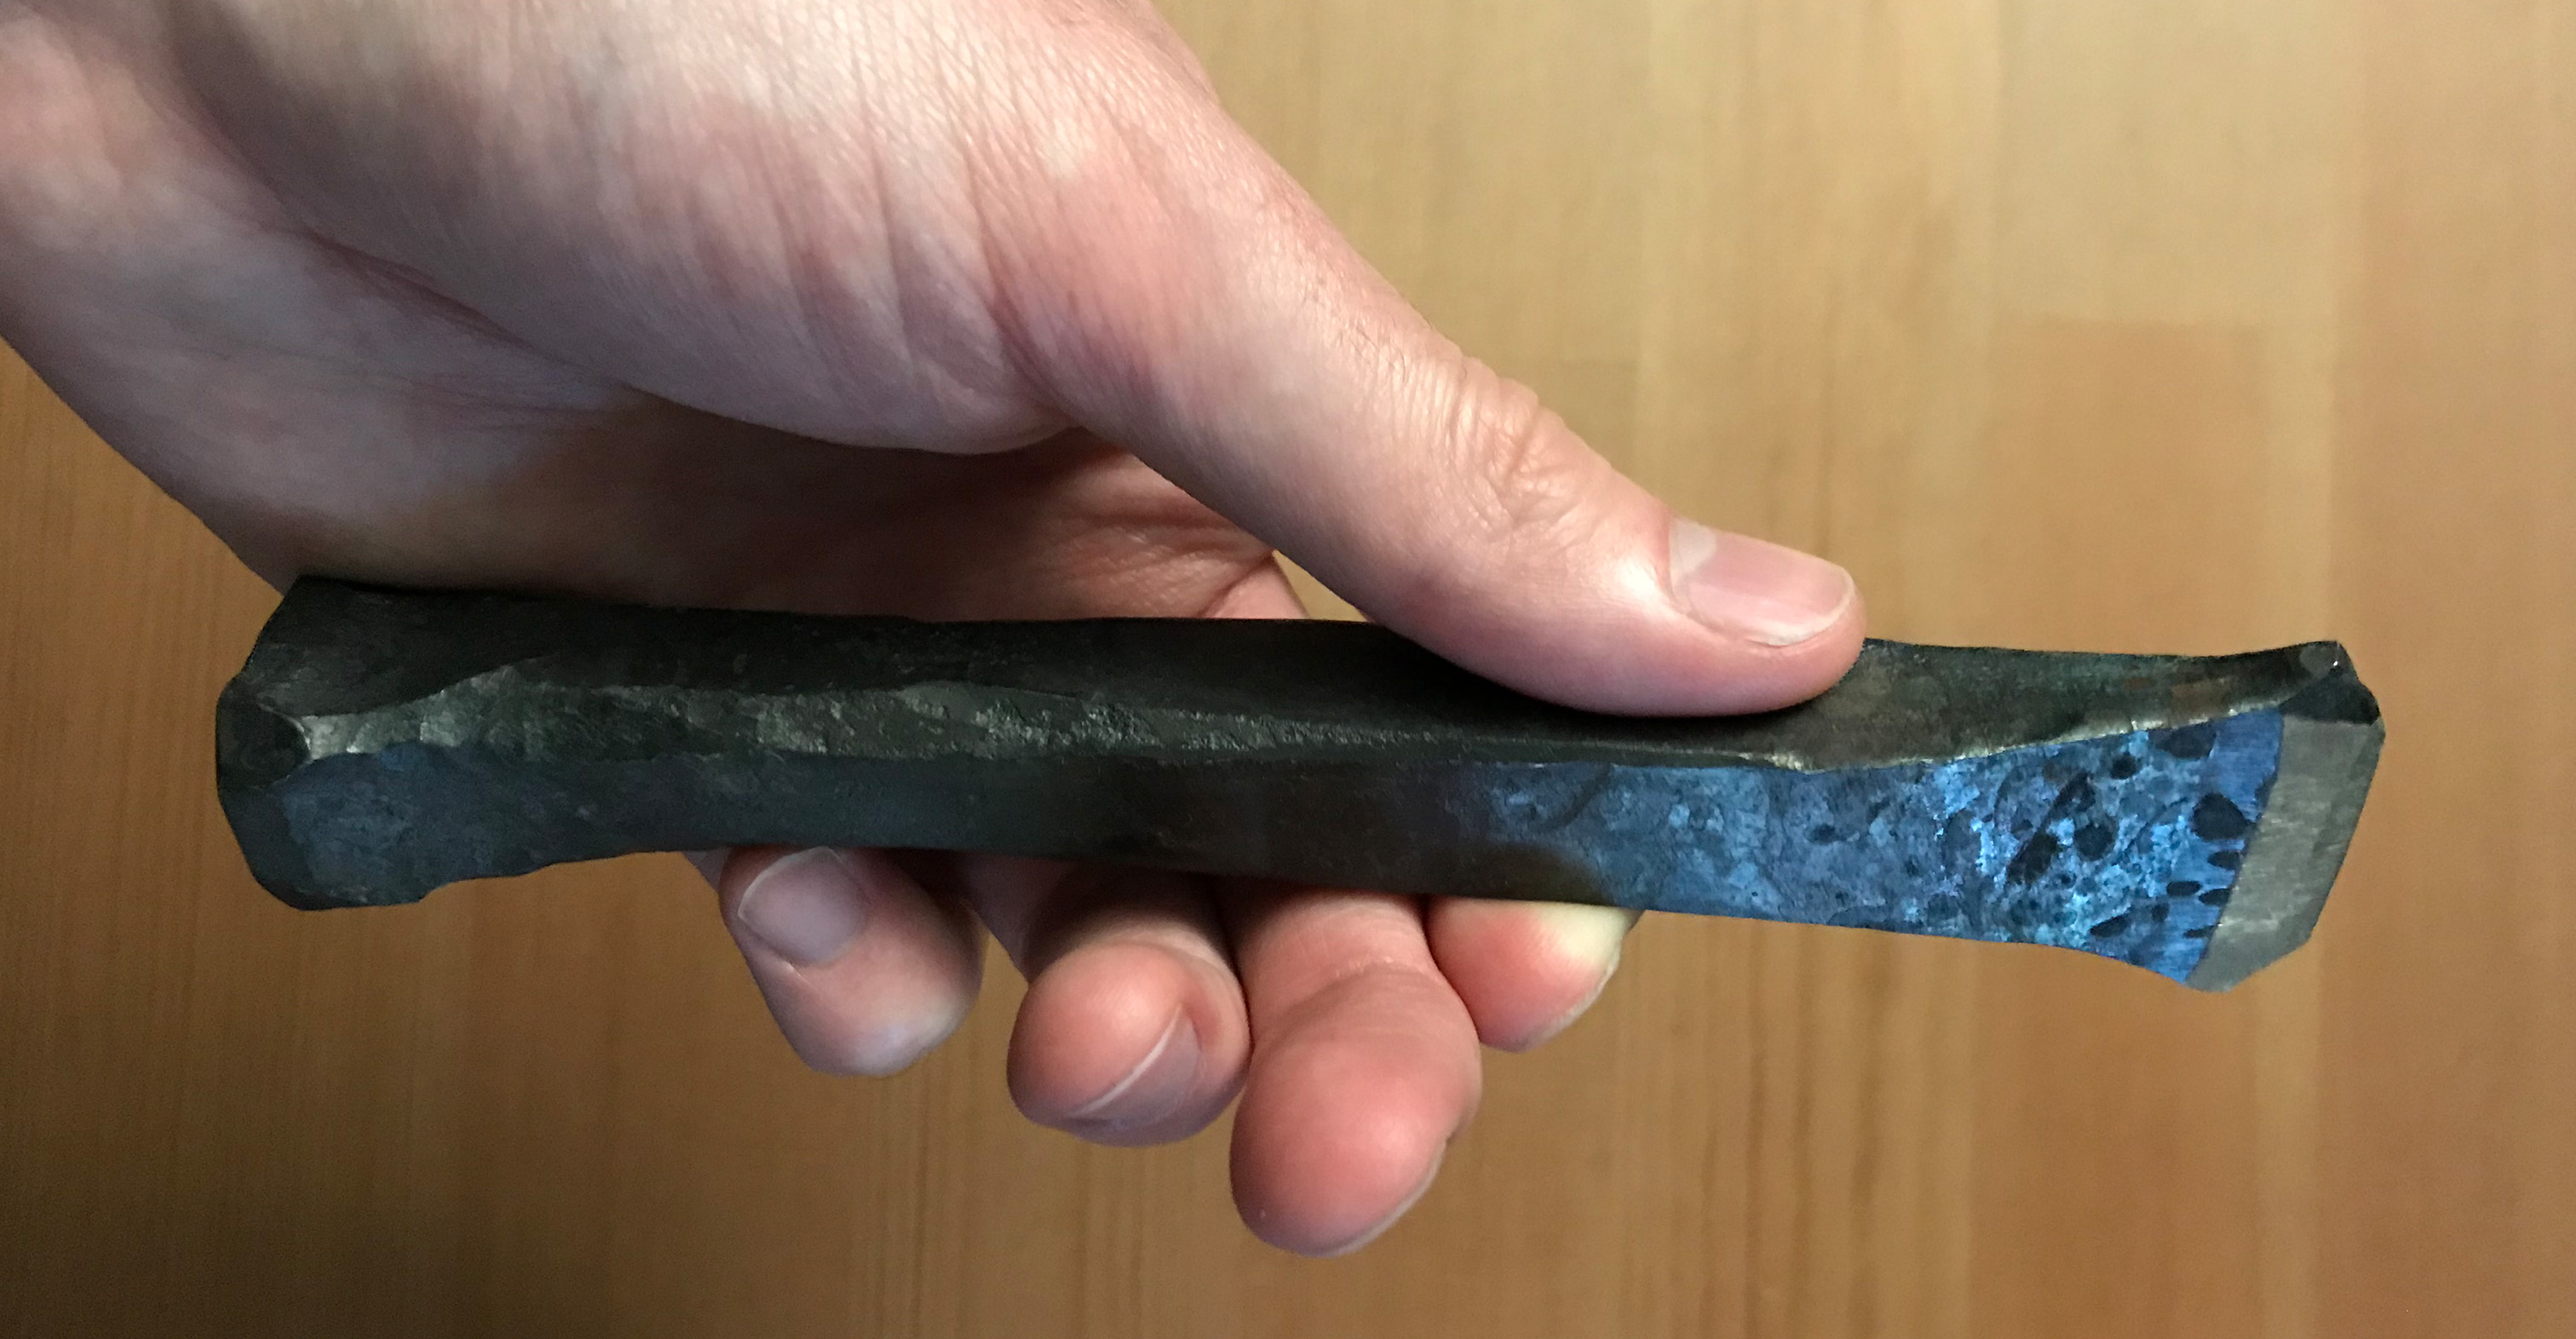
At this point, I also made a herb chopper and a hot cutting chisel. I gifted the blacksmith’s knife with a leather sheath to a friend, while the herb chopper went to my mother. I don’t think anyone would appreciate a hot cut chisel, so I kept that for myself. I’ve included miscellaneous process pictures below with some extra info that didn’t fit into the main post. Thanks for reading, and next time I’ll be learning about fermenting, and you will too as long as I don’t poison myself.
Links:
How To Easily Cold Acetone Vapour Smooth & Finish 3D Prints [Step by Step] – Written guide to acetone vapor smoothing.
Super Smooth Prints // Acetone Vapor Bath – Video about the process from a youtube channel I enjoy, Make Anything.
Forging Fundamentals – Artist-Blacksmith's Association of North America's guide to basic smithing.
List of Schools – ABANA list of blacksmith schools.
Classes and Workshops – A list of classes and workshops in New England, likely more approachable.
When a Metallurgist met a Blacksmith – Interesting demo between a materials science student and a blacksmith at work.