
Though I’ve already taken a lot of time to get to the third part, I wanted to include a little buffer entry into new prints and printer mods that won’t fit into the next article. First, the upgraded work area:
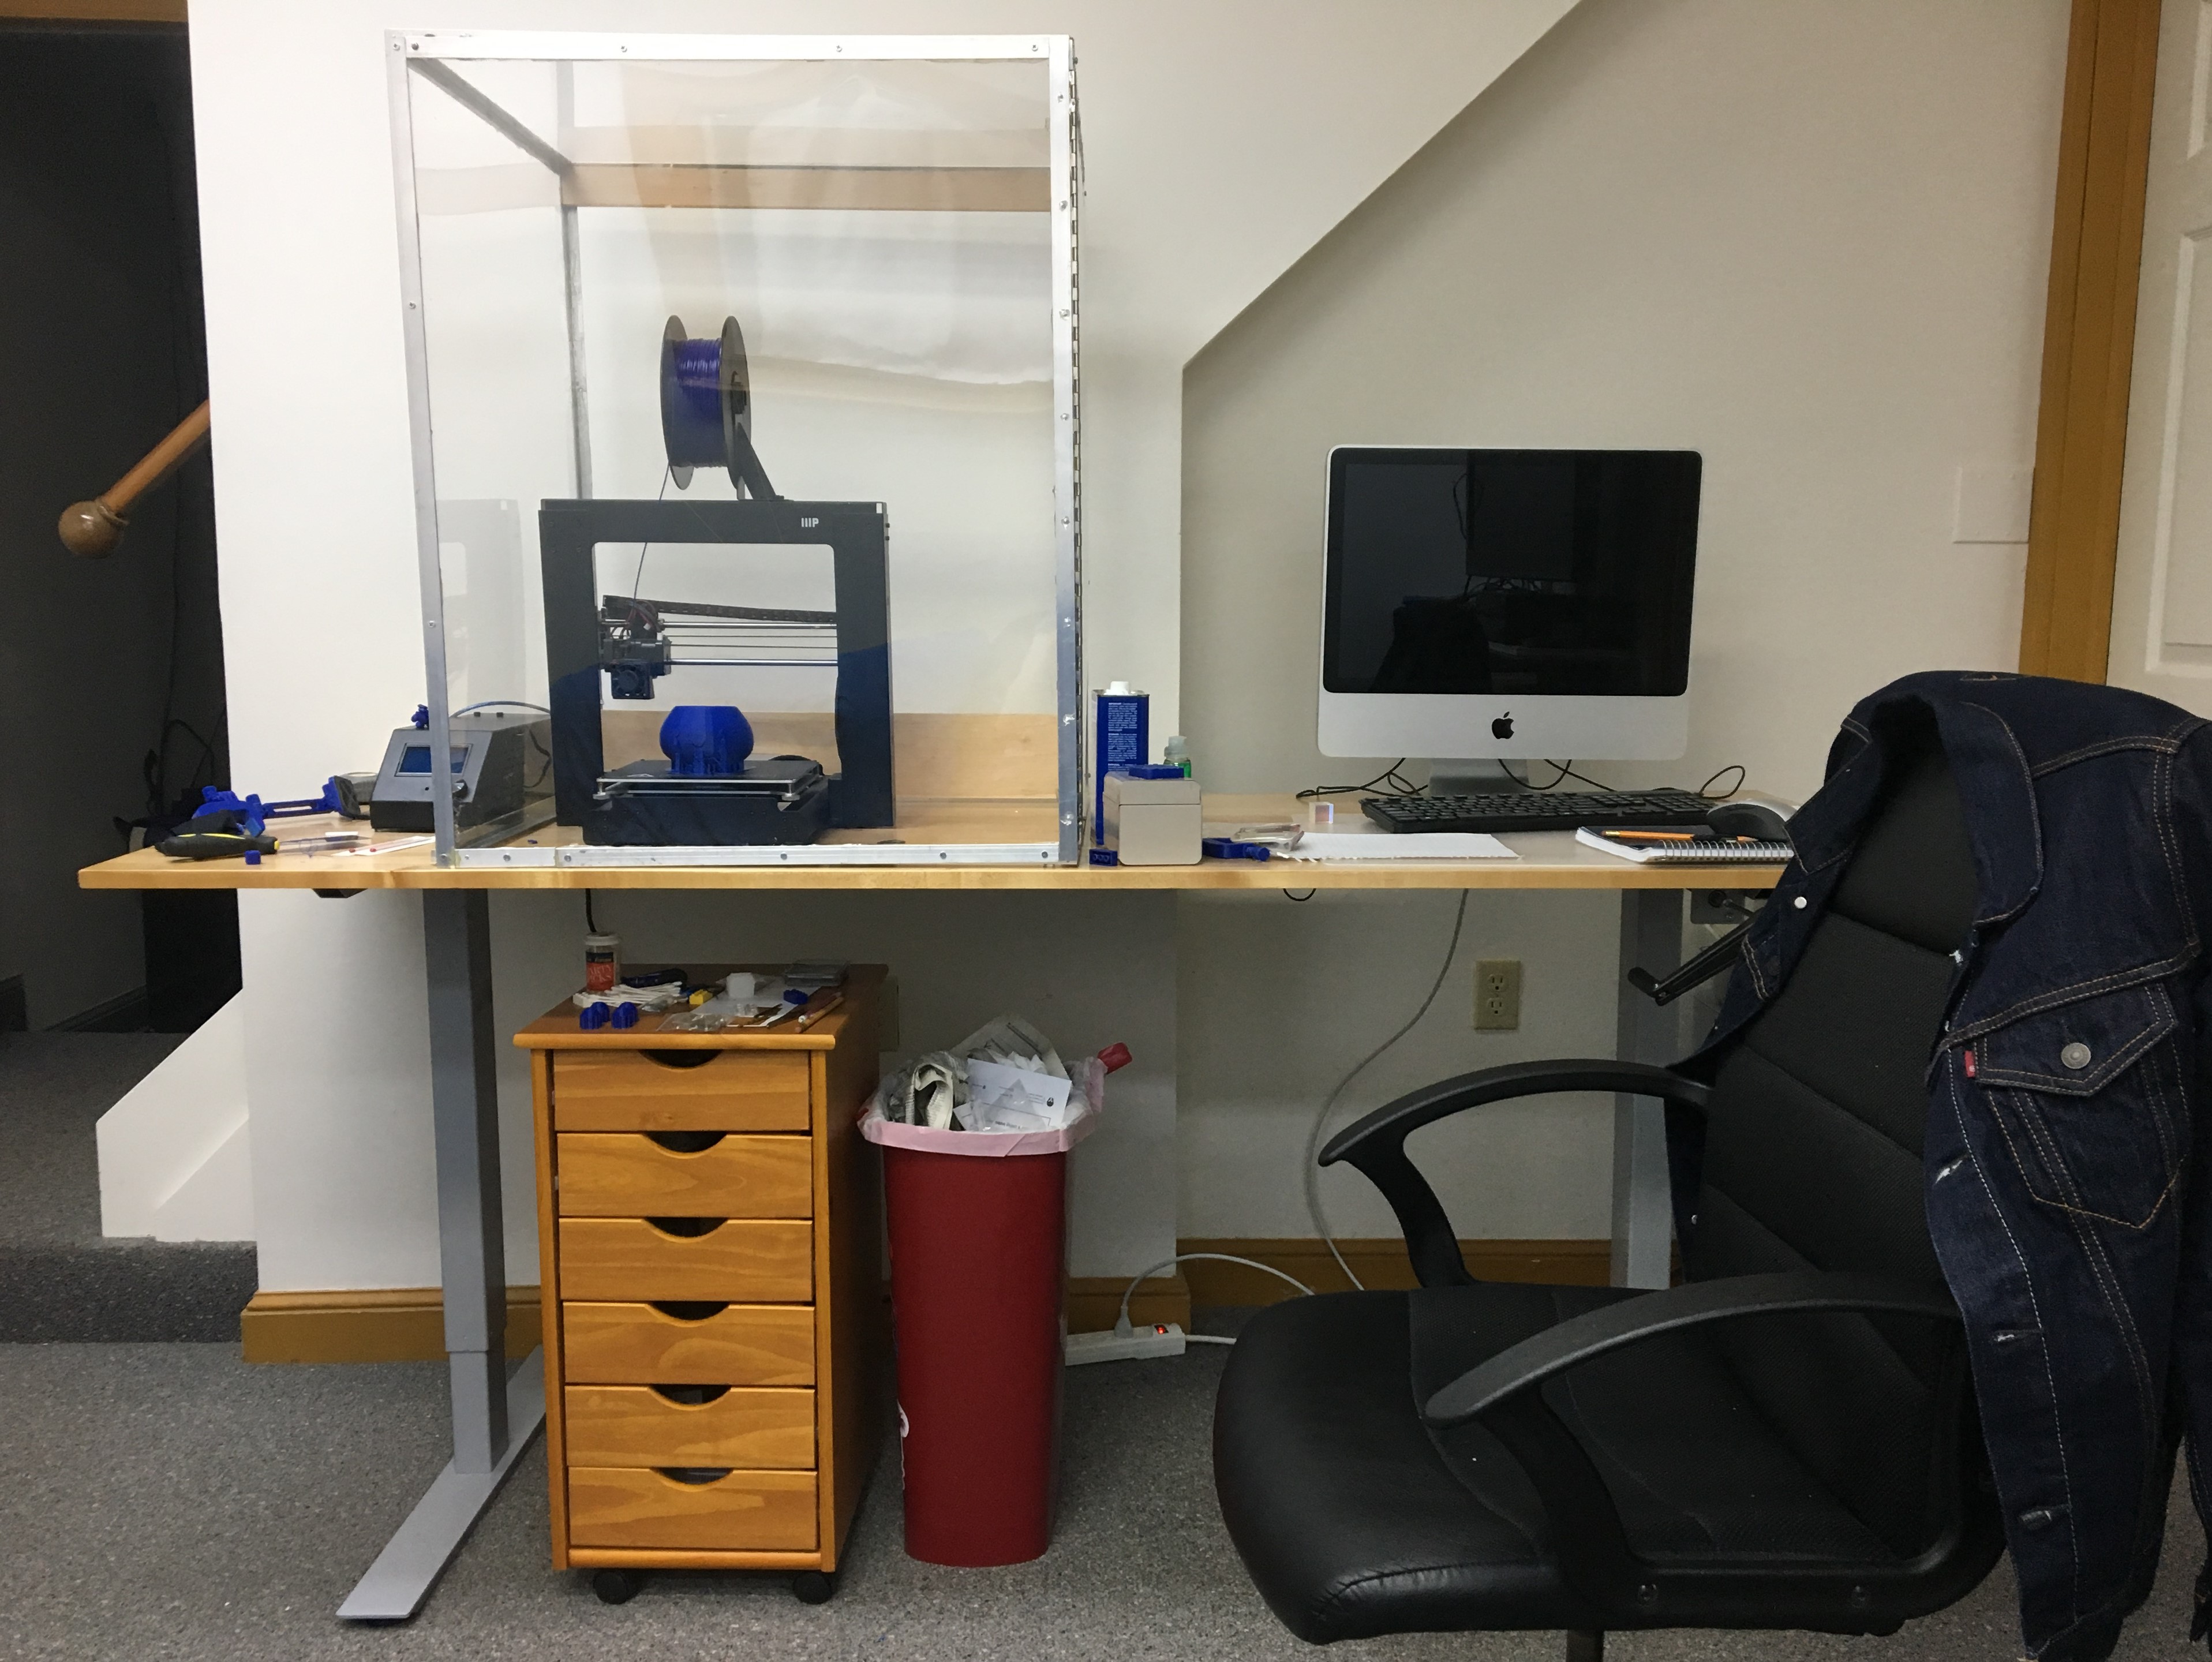
Big upgrade from the sorry scene in the first article. For the desk, I took some old pressed maple boards and fit three of them edge to edge with dowels, glued, and clamped them. After some long sanding sessions, I just used a polyurethane varnish to finish it. I then attached the maple top to a crank standing desk bottom that I bought off Amazon so I can easily adjust height. This thing is big (about 7.5 ft by 3 ft for the table top) and heavy (about 150 lbs with the legs), but the crank still works easily and there is plenty of room to work.
You will also notice in the picture a large enclosure for the 3D printer. This is an aluminum framed, plexiglass box that I made as a more permanent enclosure. Unfortunately, the more permanent part might be untrue. The plexiglass is quite prone to fracture on flex, and even though I framed the whole thing in aluminum, when moving it the first time the back glass fractured beyond repair and I quickly used some wood scraps to add some structure to the back on replacement. And although the plexiglass is rated for higher temperatures, it still has begun warping a bit on the door, which is also loose at the hinge (that part is all my fault) and likely leading to more heat and fume leakage than intended. In the future, expect to see a wooden back, and probably a removable door rather than a swinging one for better sealing.
In addition, the printer got some new bits. I added a printed spool holder (at the top of the printer) and a new aluminum y-plate (metal part under the hotbed), so this will hopefully help in keeping prints at a consistent quality. Bit boring additions, but I’m trying to incrementally better the printer, and these seemed like easy to-do items to check off. I also got a new .4 mm all metal hotend, which should allow for better prints and even higher temperature filaments. I have also begun researching some larger diameter nozzles, while .4 mm is the standard, bumping up to .6 mm can possibly allow one to print up to twice as fast! Here’s a great article on the subject.
Now, let’s just rapid fire some new prints I’ve done with some stories:
Oddish Planter

My brother saw the bulbasaur planter I made and liked it so much he wanted a one-upped version as a birthday present. I found several planters online but couldn’t find one that had all the features I liked, so I took this existing design (Link to pin legs oddish) and imported the model to the 3D modeling software Autodesk Maya. Maya is not meant for precision engineering modeling, but it was simple to effectively “trace” the low poly model (that was impossible to edit) to create a smooth mesh version. I then printed it to a scale that fit my printer bed well, and completed the print. I even used a slurry made of a 1:1 mix of acetone and excess ABS (from failed prints, supports, and rafts). Acetone melts ABS plastic, and can be used to chemically weld pieces together. I used some cyanoacrylate glue to connect the pin legs to the feet and body, then filled the voids with the ABS slurry. This worked well to connect the pieces, but it was difficult to apply the slurry evenly. Getting the mix for the slurry is difficult, too much acetone and the result is too thin to fill cracks and might just cause melting, too much ABS and the result is too thick and difficult to use. I was in the latter camp, but the result still looks good to me.
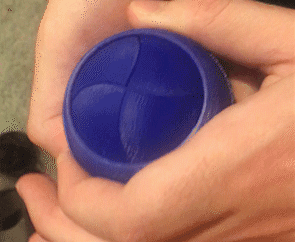
Iris Box
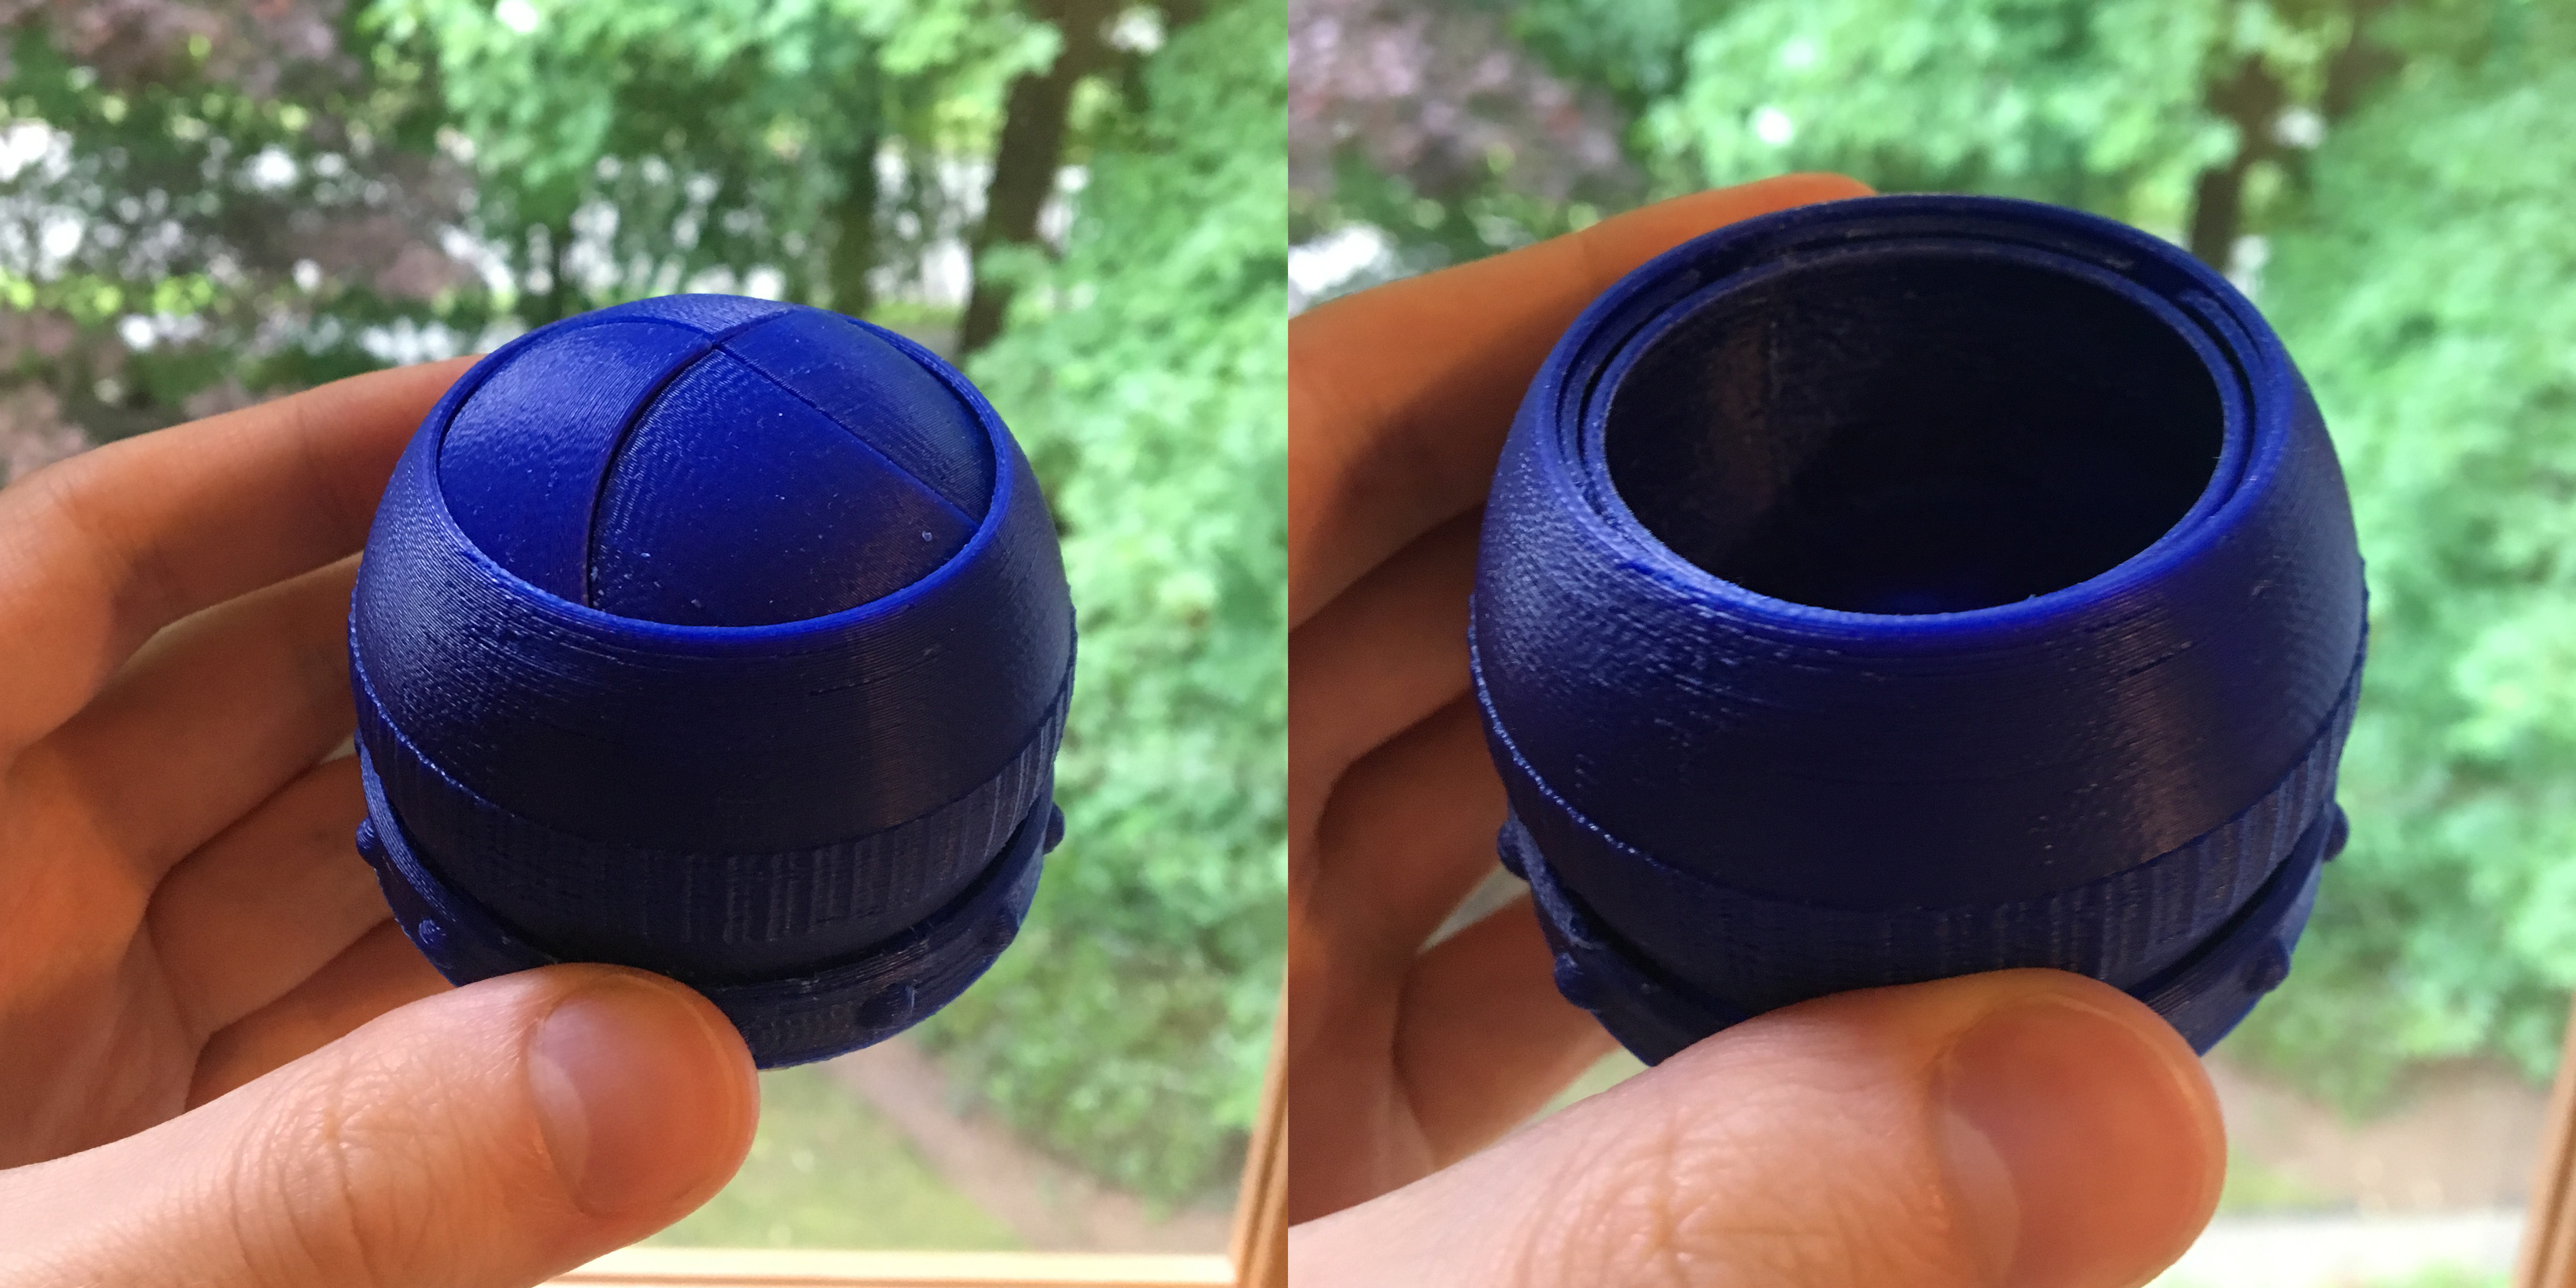
This print seemed like a fun way to check the printer fidelity and my own print clean up skills. This box prints in one piece, where you clip some tabs at the bottom and under the sphere to free the center to rotate freely. I can’t claim any credit in making/modifying this work, I just thought it would be a nice gift to my mother as a small jewelry box. Plus, look how cool it is to open and close:
I’ll link some of other very cool “print-in-place” models below that you should check out, there’s been a slowly growing movement to make more of these cool creations. My final notable print is this:
Acorn Boy
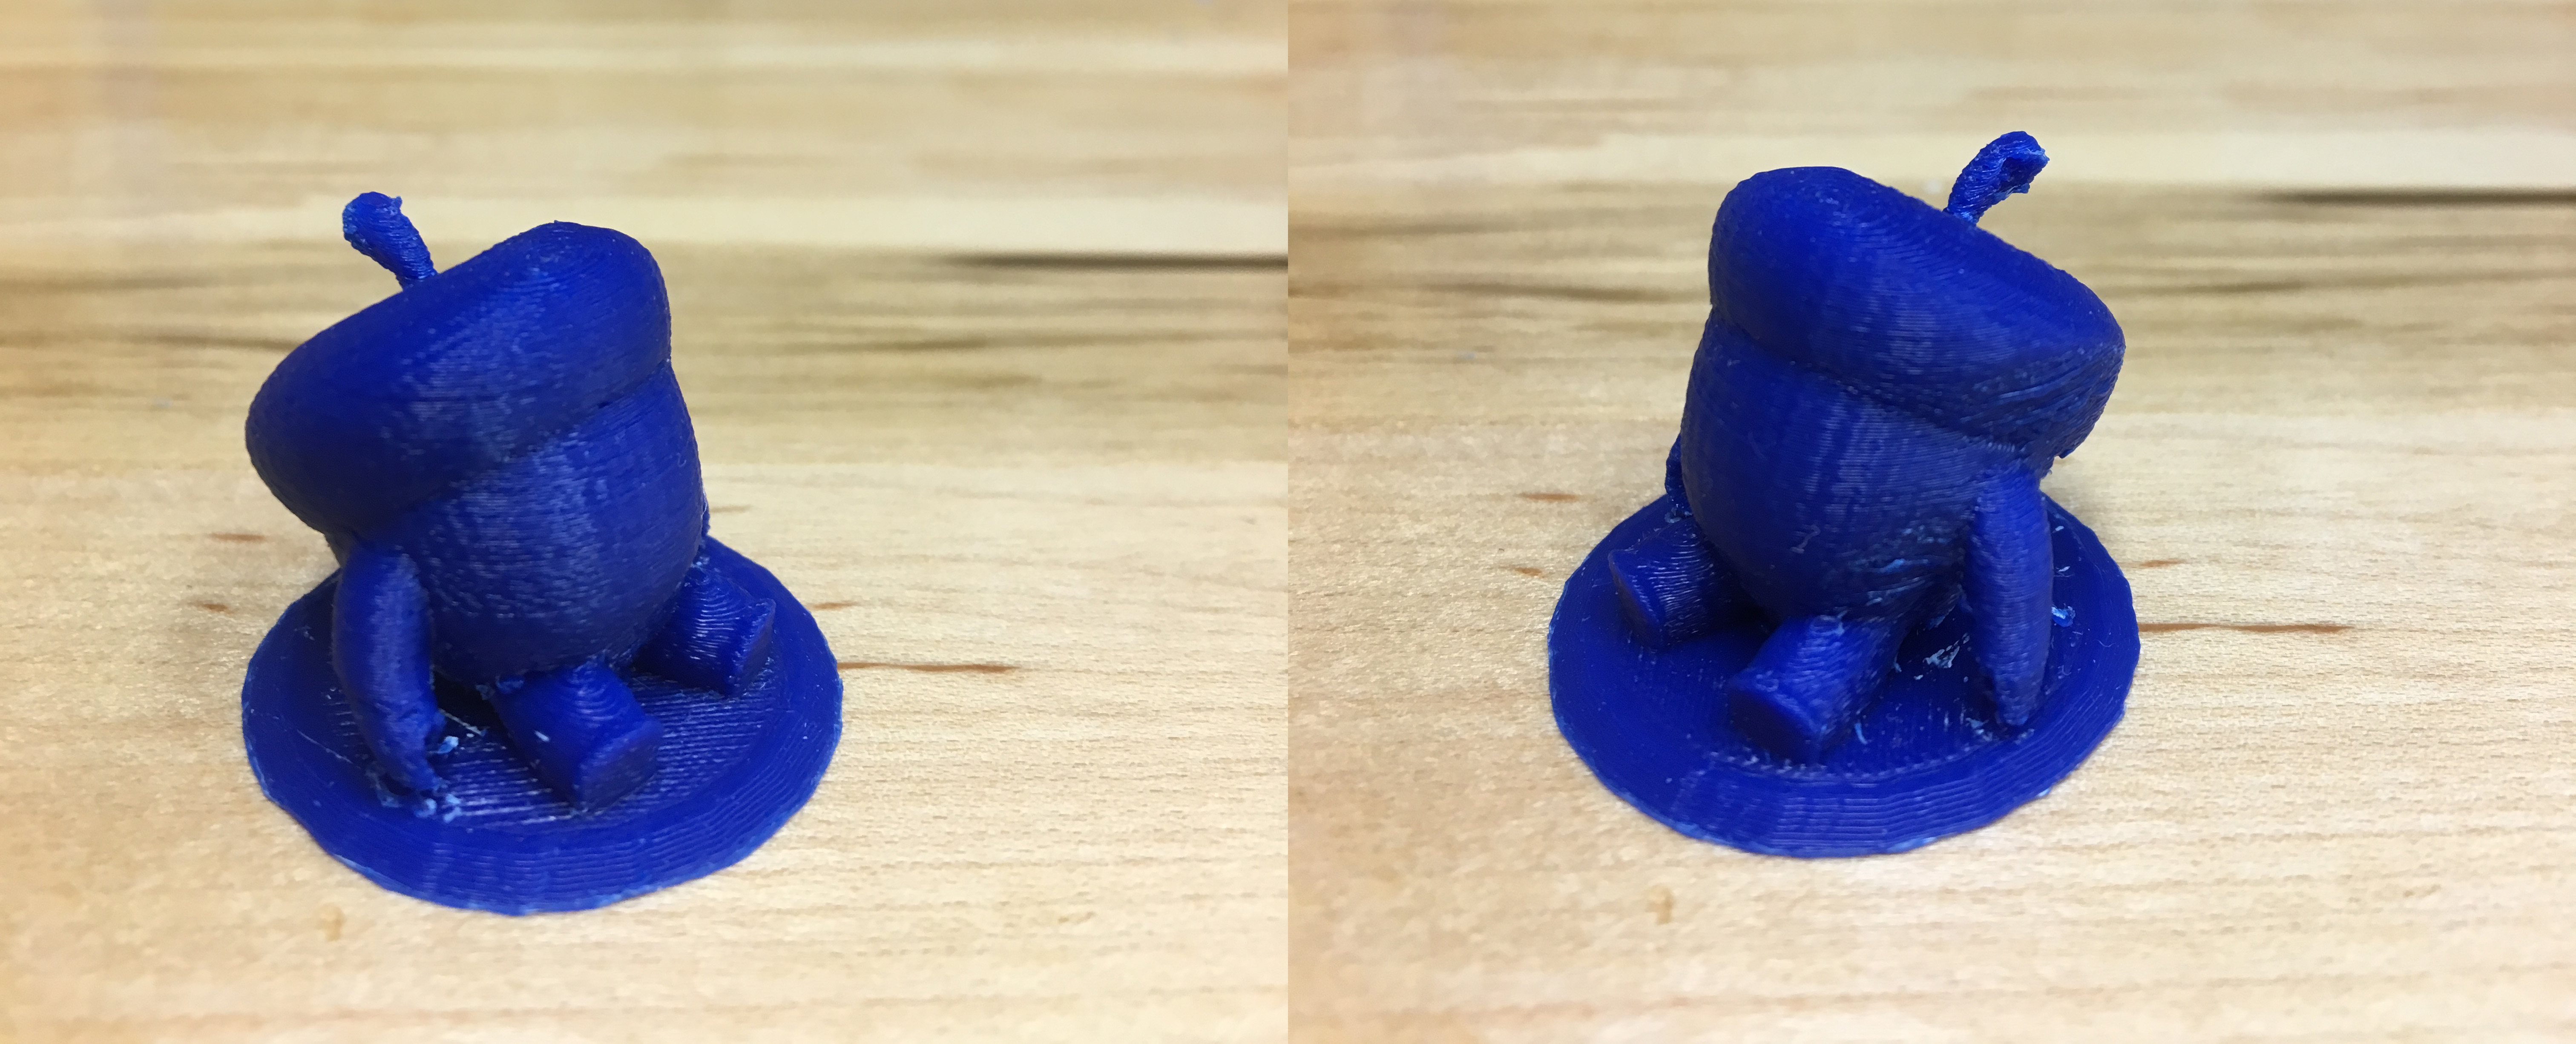
This may look like nothing special, but you might be able to recognize him as the acorn boy in my short here. I really wanted to test making figures like board game pieces, and thought that it would be fun to use a character that I created. Printing small and with supports like I was doing introduces issues. Making sure weak pieces don’t rip off, harder clean up, and exaggerated artifacts (ghosting, banding). I think some of these problems could be fixed with better Cura settings, lowering the speed and using a higher resolution.
This is the snack to tide over until part 3. There will certainly a lot more ups than downs in the future with this printer, so I’ll leave you with a picture of one of my (somewhat) failed prints. Thanks for reading!
Cool Links:
Everything about Nozzle Diameters – Great article on nozzle diameters with fantastic research and presentation.
Original Oddish Planter with Pinlegs – Low-poly Oddish planter.
My Remixed Oddish Planter – My smooth version of the Oddish Planter.
Iris Box – The print-in-place Iris Box.
Slug – A cool print-in-place articulated slug.
Scissor Lift – A bit more mechanical print-in-place example.
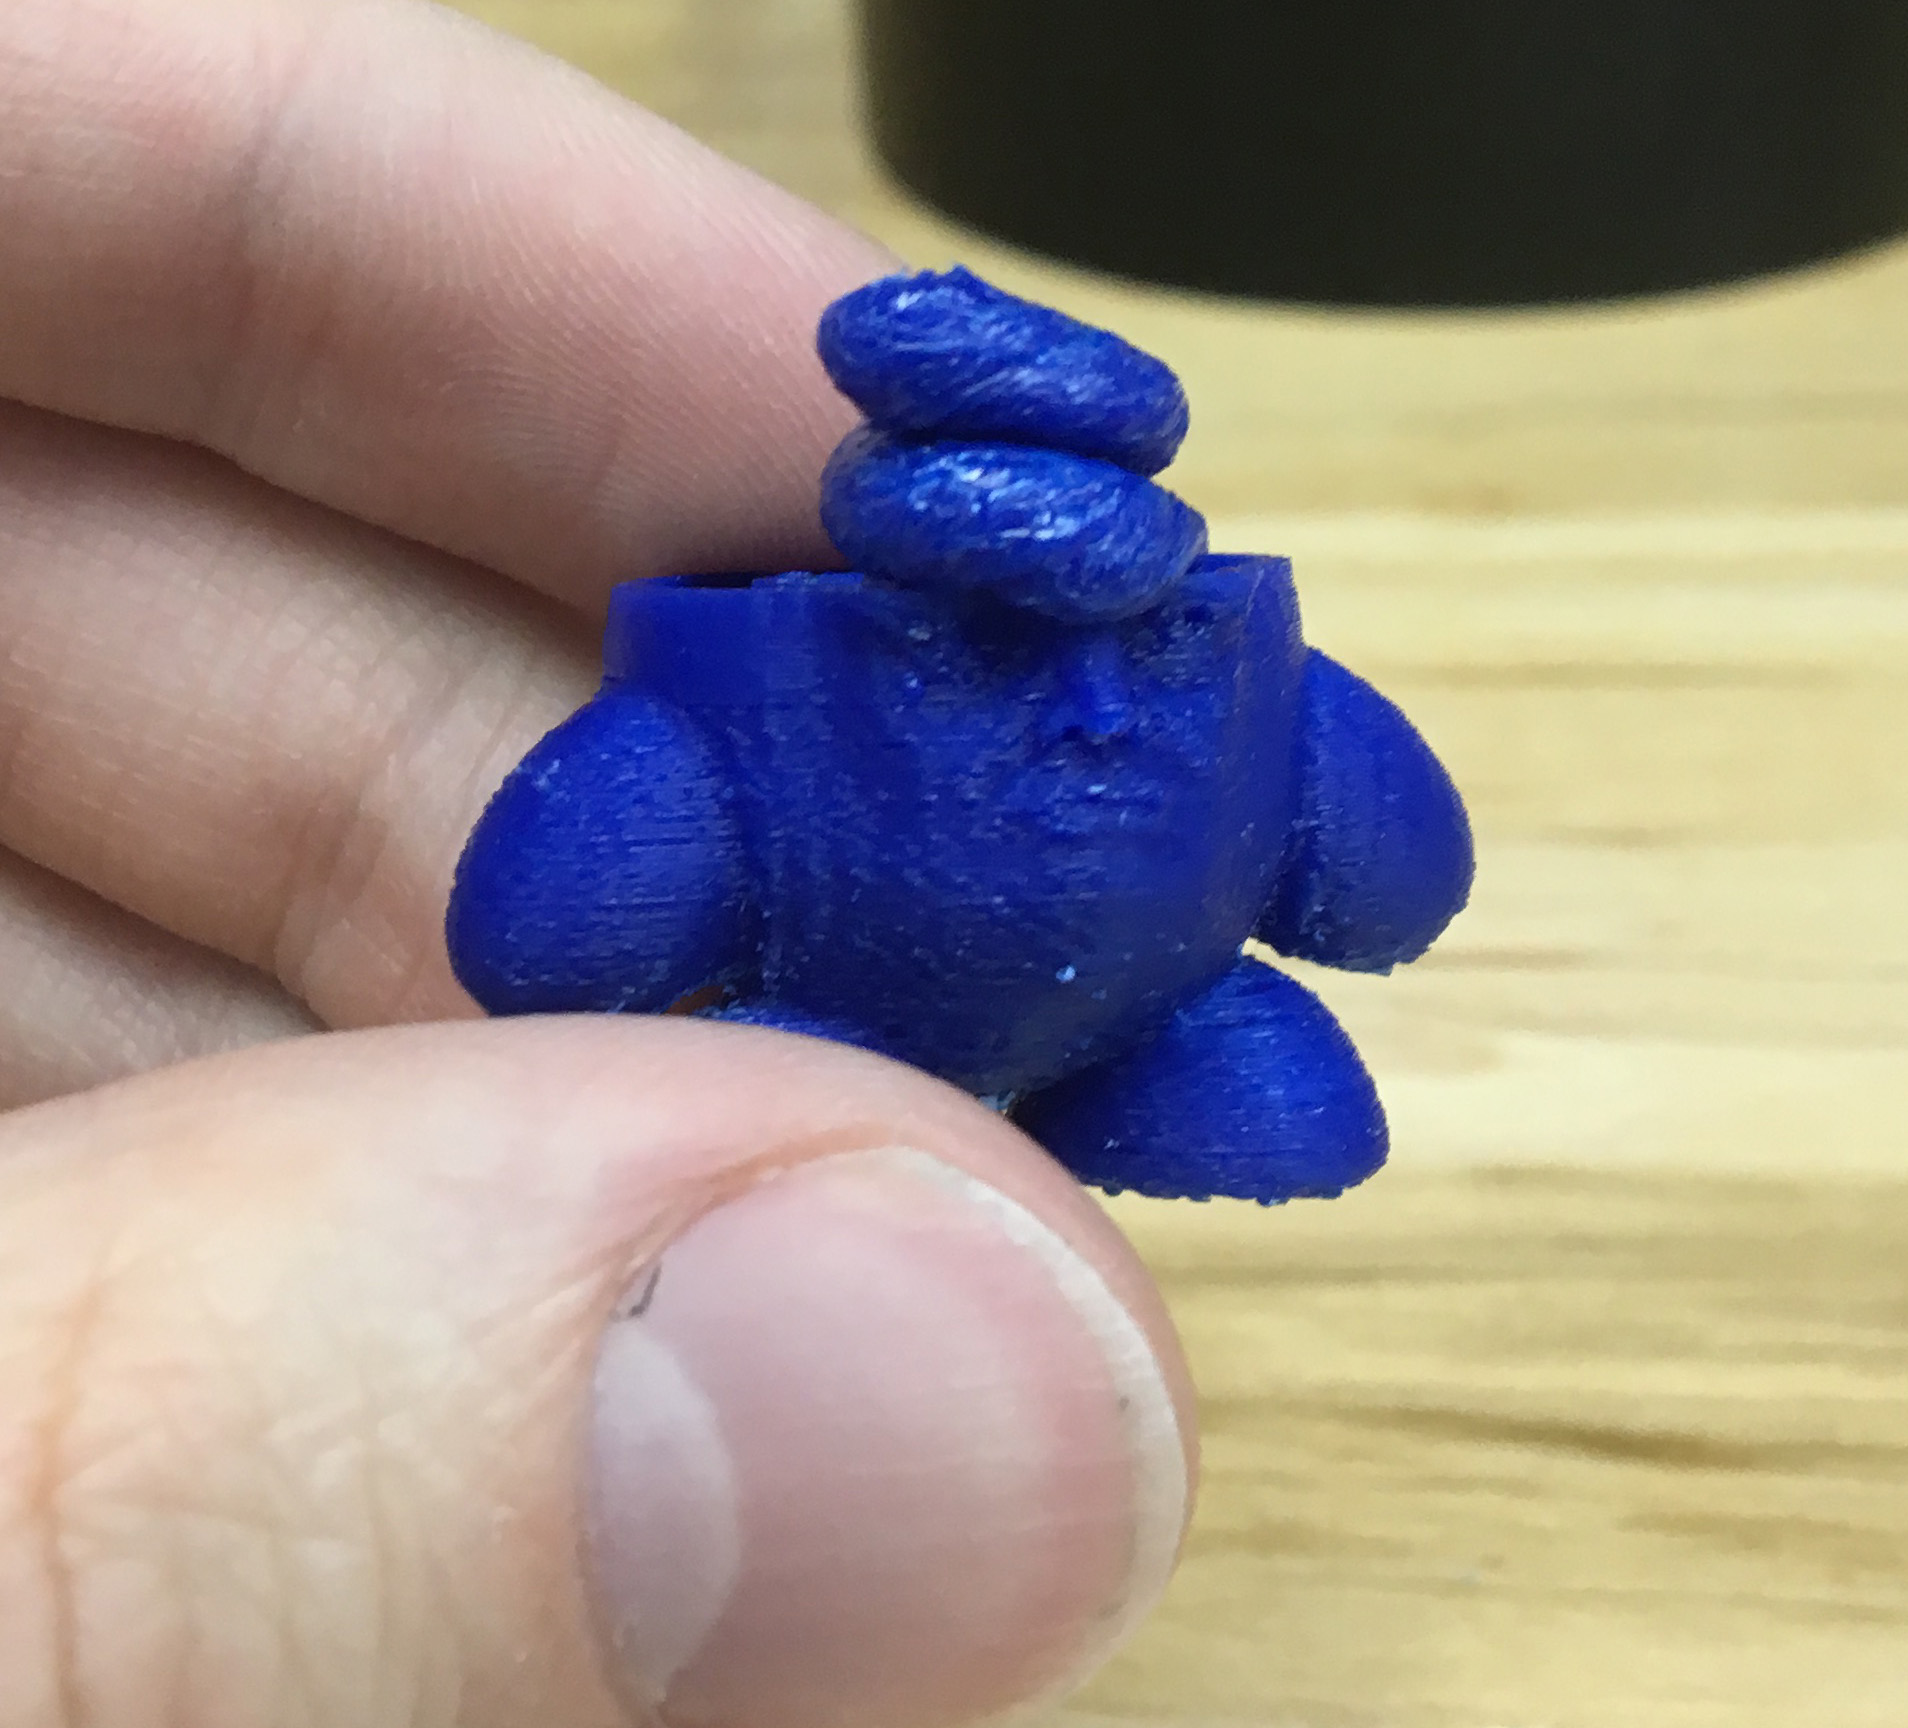
Kirb – Goofy kirby with a face (poop-pompadour not included).